Not wishing to repair my 1960s Skyland Qantas 707 travel agent model apart from adding 3D printed replacements for two missing engines, I decided to print a new model 707 and bought an STL file from an online model vendor. The model was better than most that I had looked at, but I modified it to suit my print requirements.
Click images below for larger versions

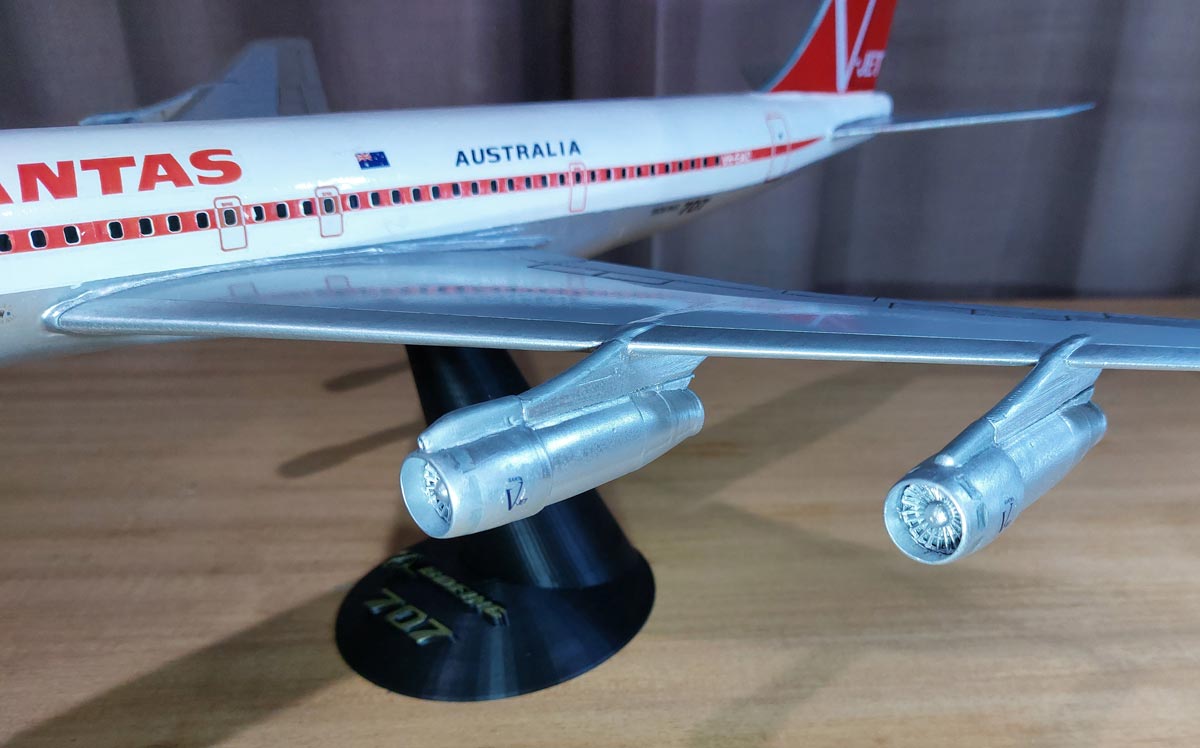
The supplied 1/96 scale STL file would have printed with a lattice infill interior, but I decided to hollow it out to speed up print time and reduce PLA consumption. As the print was to be 1/72 scale (about 638 mm long), I had to modify some of the 1/96 fuselage sections to suit my print bed at 1/72 scale. I thought that the supplied engines were a bit light on for detail, so I made my own. I also made a stand, based on the one I made for the Qantas 787 Dreamliner print.
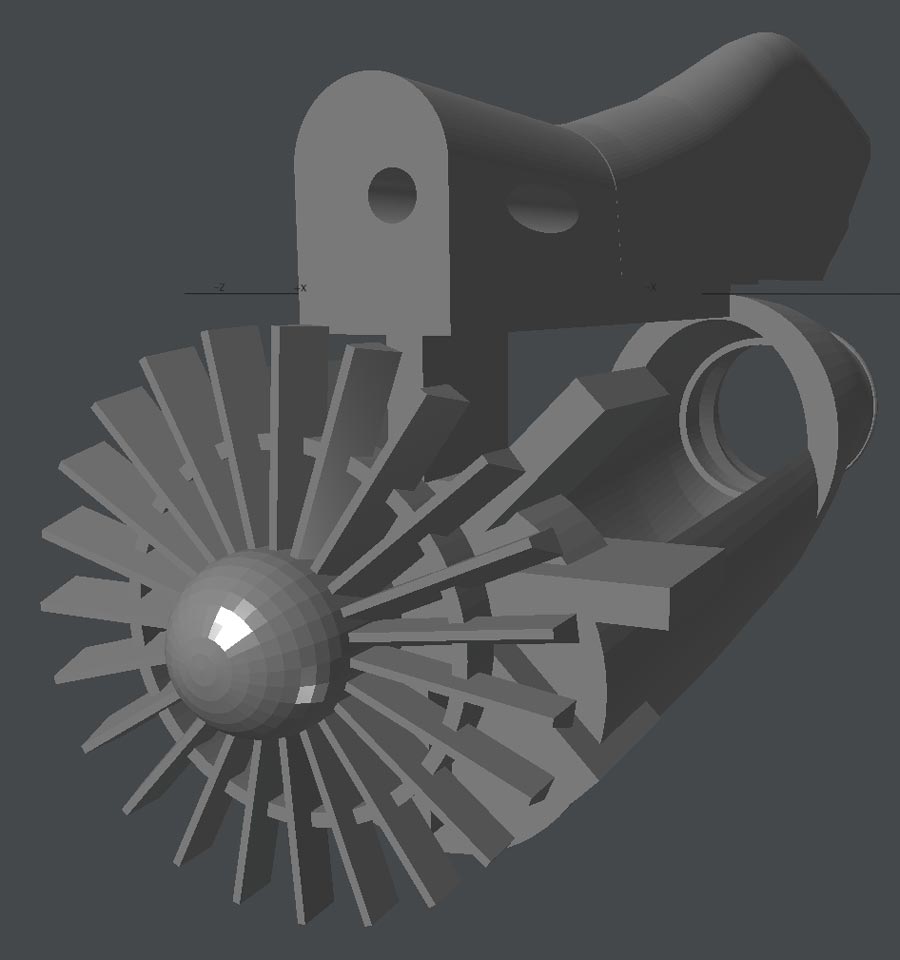

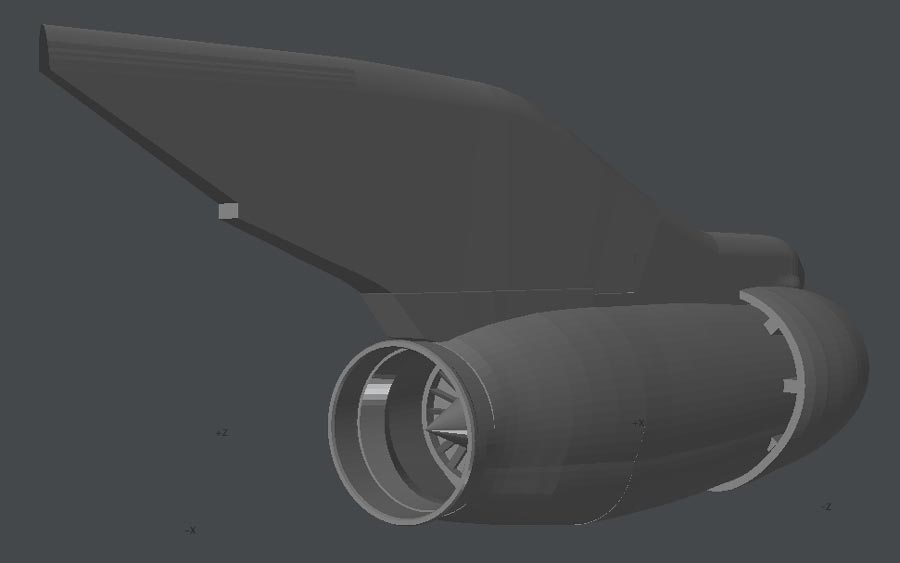
Engine 1, outboard port side (on the right in the Lightwave 3D image below), has a different leading edge to its pylon than the other three engines. Numbers 2, 3 and 4 engines have an air inlet hole for cabin air pressurisation – something that I was unaware of when I made the replacement engines for the Skyland model.

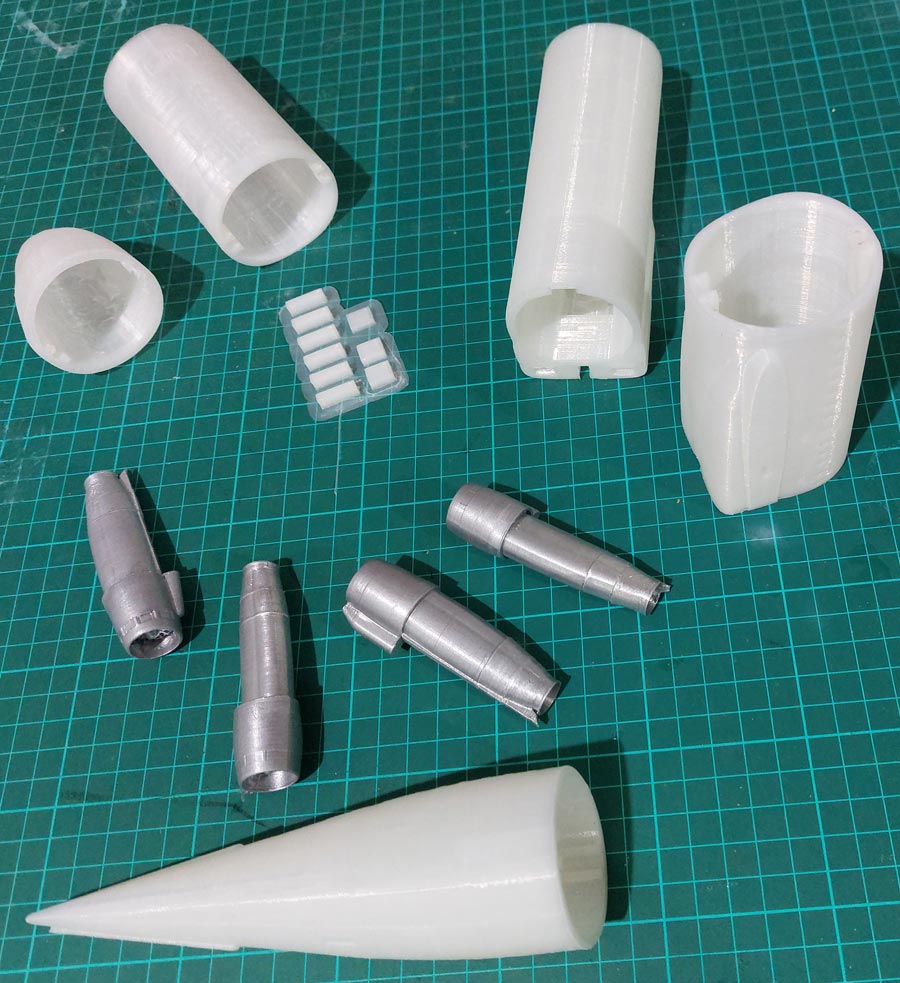
Printed engine components

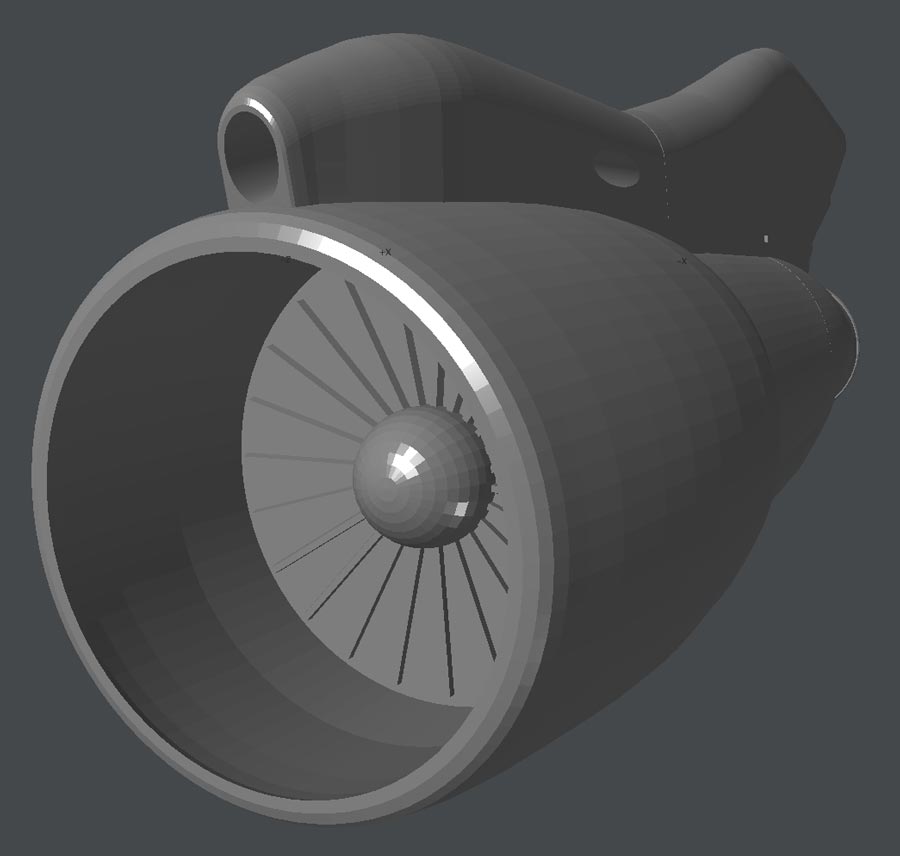
Engine nacelle for engine 2, 3 or 4. Engine 1 does not have the hole for cabin air pressurisation in the leading edge of the pylon. Lightwave screen, with 3D print

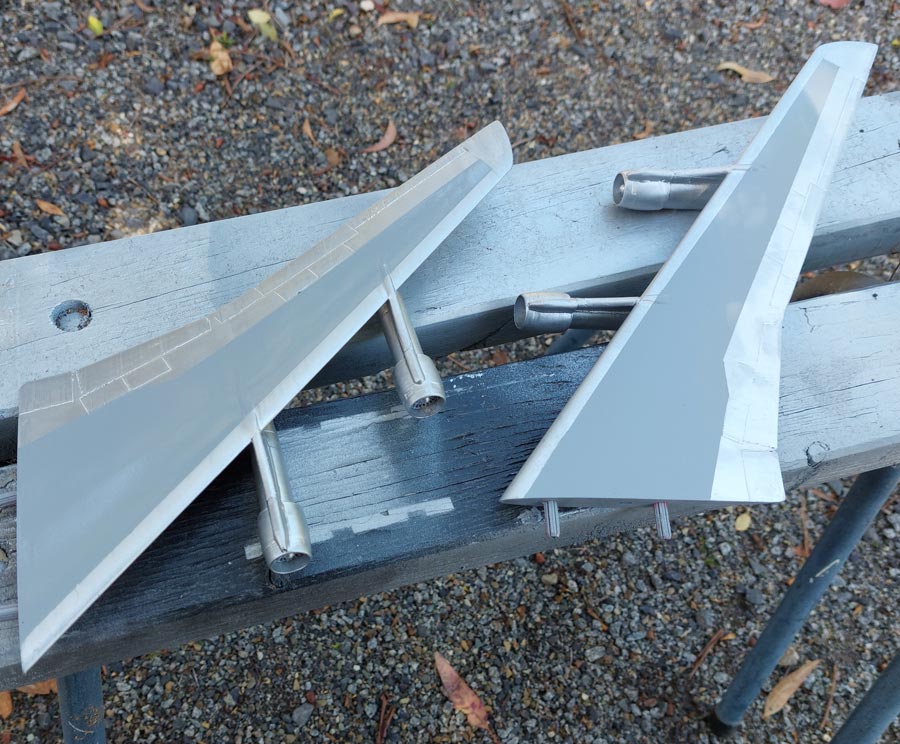
Engine, fuselage and wing parts

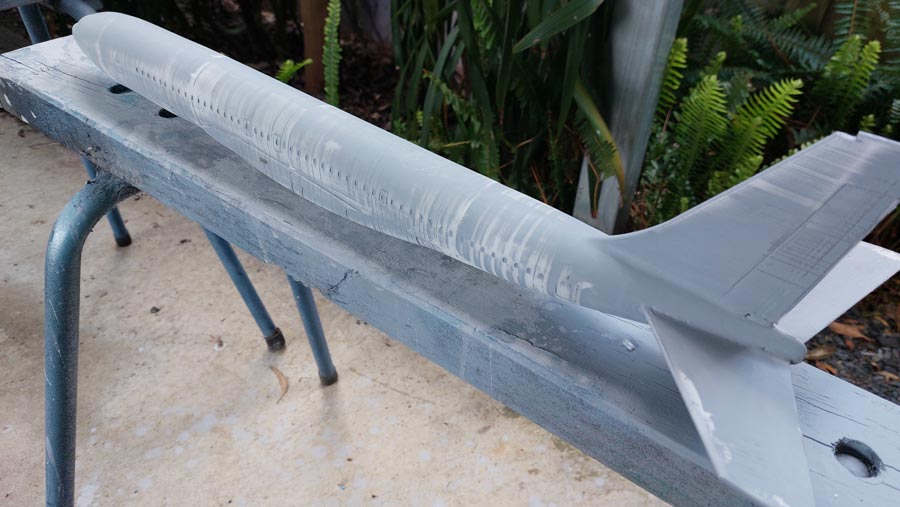
Lots of spray putty and sanding to smooth the surface
Stand and wings
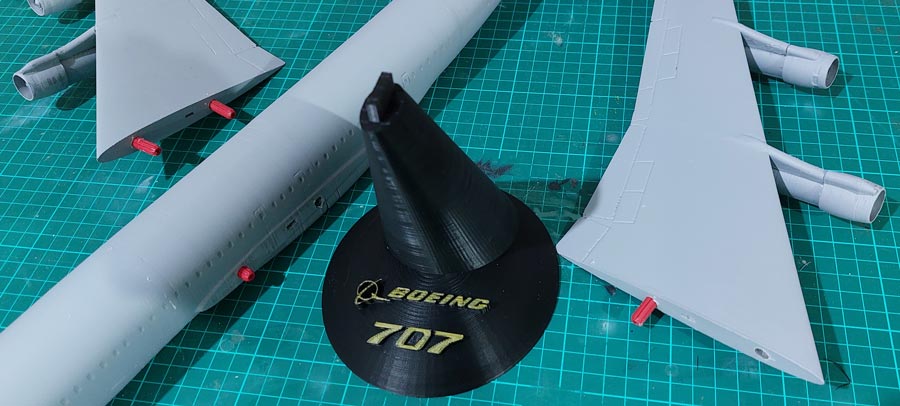
Test fit. Tailplanes are glued into place, as are the engines. Wings are pressed in but not glued at this stage, as keeping them removable will make painting the fuselage easier.

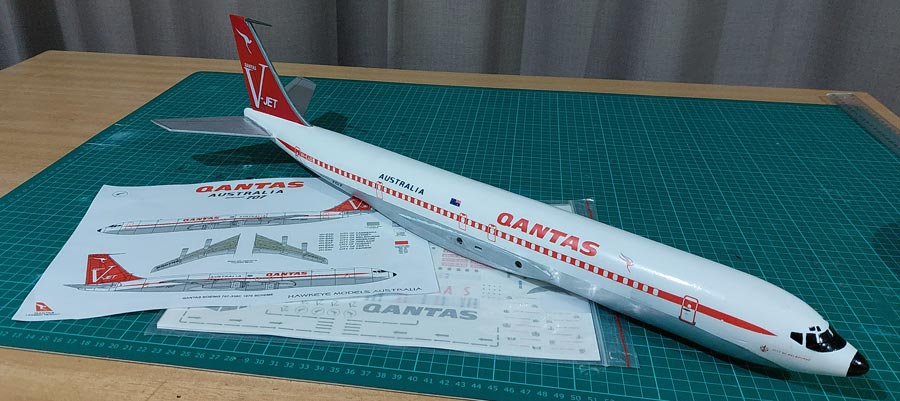
Some colour for the tail!
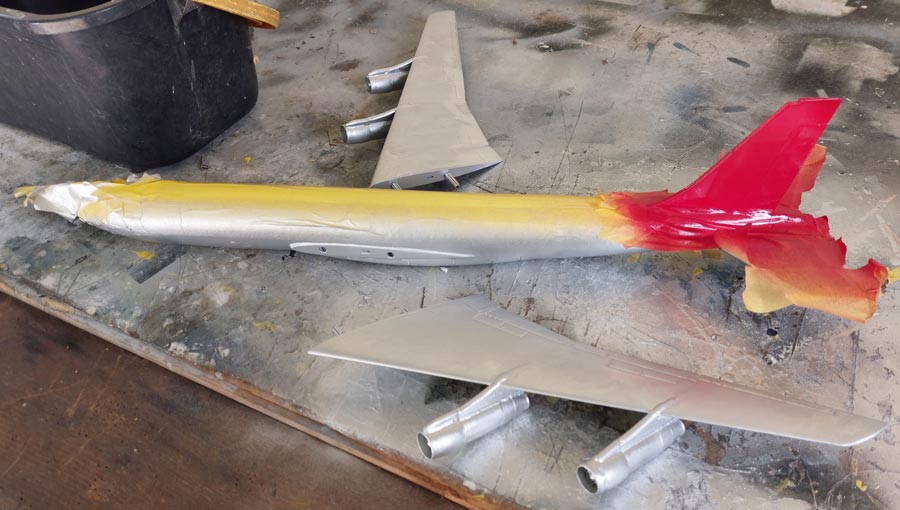
Painted. Wings have not been glued, as having them removable will make adding the decals easier!
3D model and Skyland 1960s model

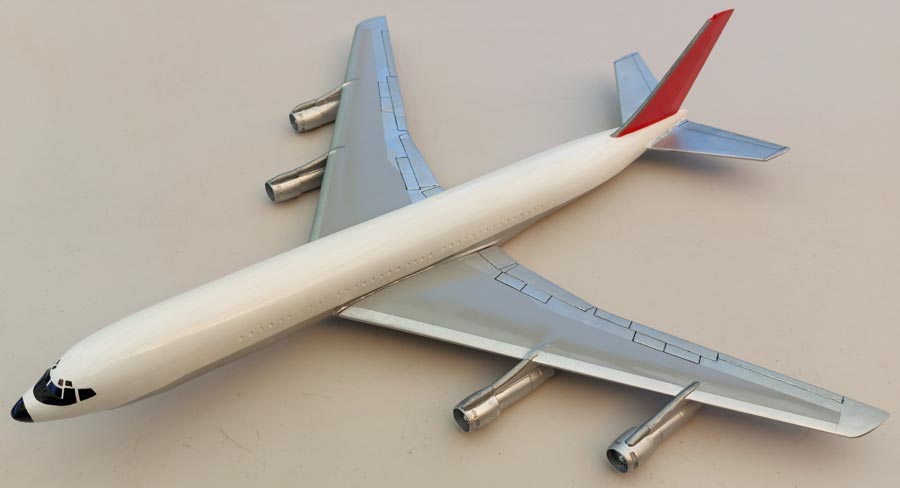
Grey paint added to the wings… just have to do the same for the under sides!
The grey is automotive spray putty primer, with clear enamel sprayed over the top.
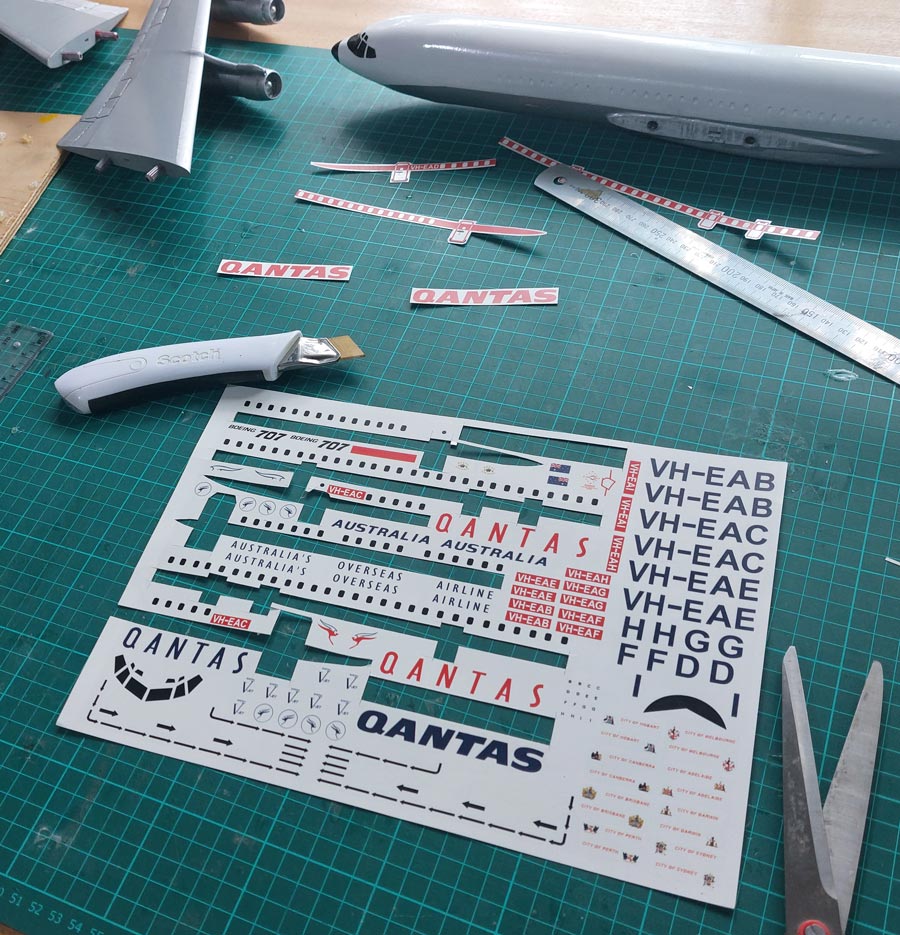
1/72 Decal kit from Hawkeye Models Australia. This is their CDS-041 Qantas Boeing 707-338 kit, which has decals for both the 1965 and 1970 colour schemes. I used the 1970 scheme. The decal windows in the red stripes are clear, but the kit also included a couple of strips of optional black windows, so I’ll probably add them, as I think white windows on the white fuselage look a bit odd.
Eight registration options were included in the decal kit; I decided to use the VH-EAD registration option. Delivered to Qantas from Boeing in March 1968, this 707 was named the ‘City of Melbourne’, but renamed ‘City of Newcastle’ in 1971, then ‘City of Ballarat’ in 1974, prior to selling it to the RAAF in 1979.
Engines and wings.

In order to ensure that the wings didn’t droop over time, I bought a piece of aluminium bar to serve as a wing spar, about 12 x 4 mm in cross section, and heated an end of it on the gas stove. When it was hot enough, it was easy to push a hole into each wing root and right through the fuselage. With about 40 mm of overhang on each side of the fuselage, the aluminium bar served as a spar to secure the wings. Plastic masonry plugs were also used as locator pins to align and help secure the wings to the fuselage.
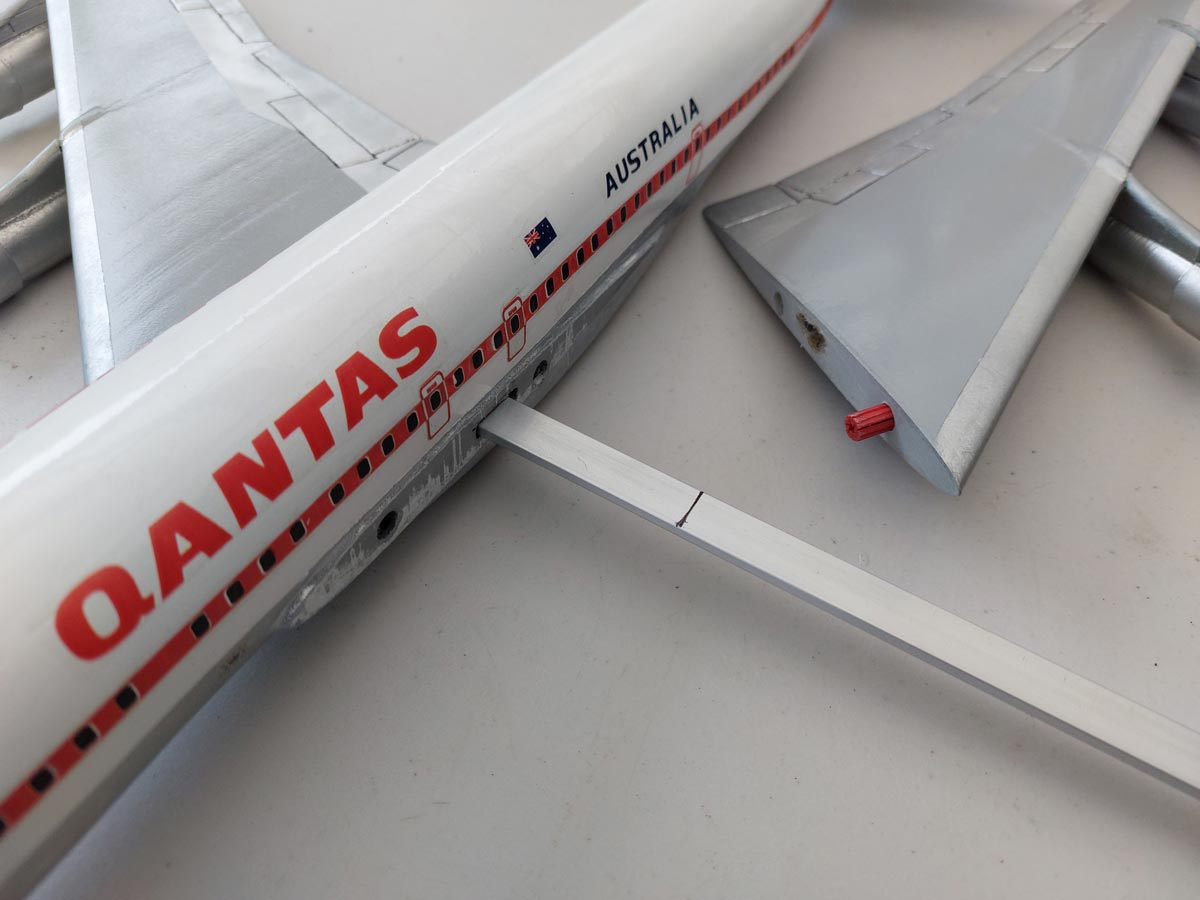
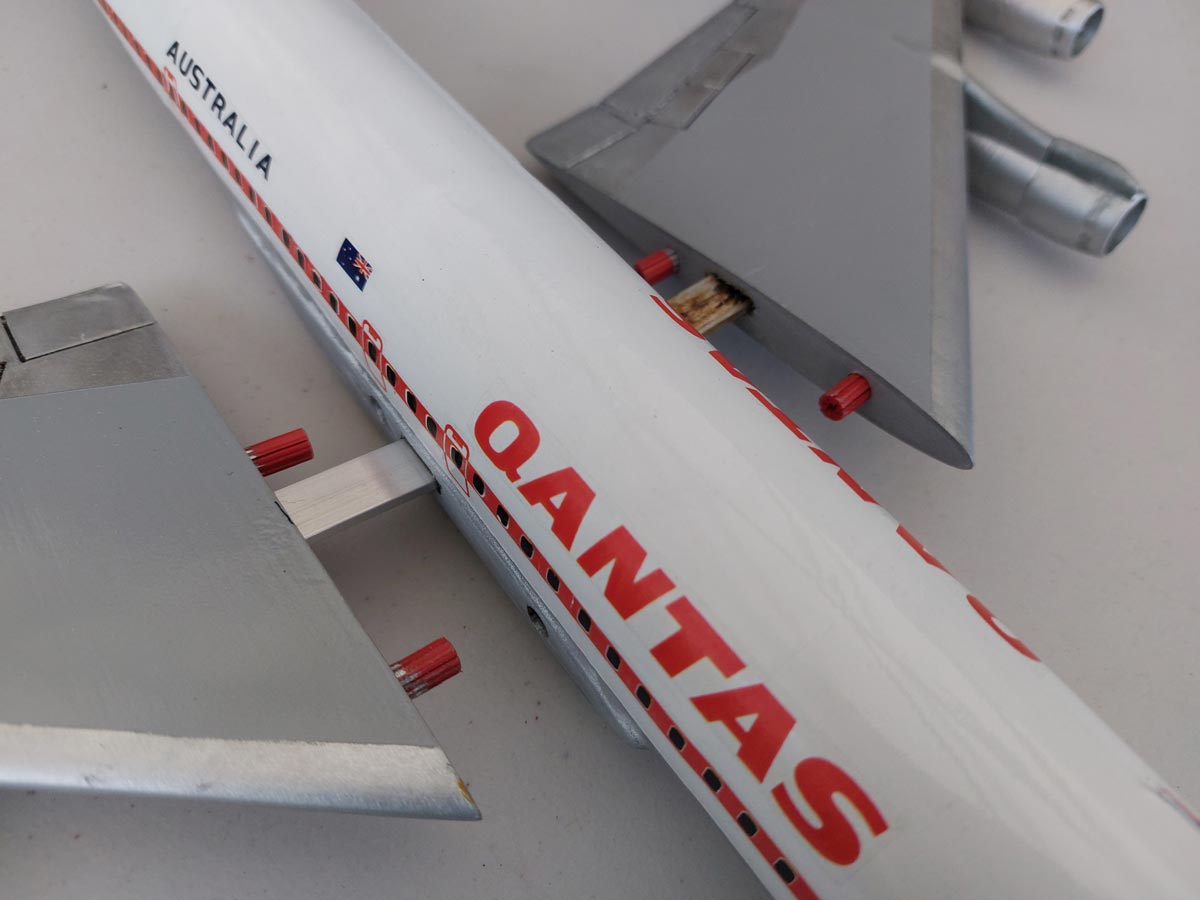
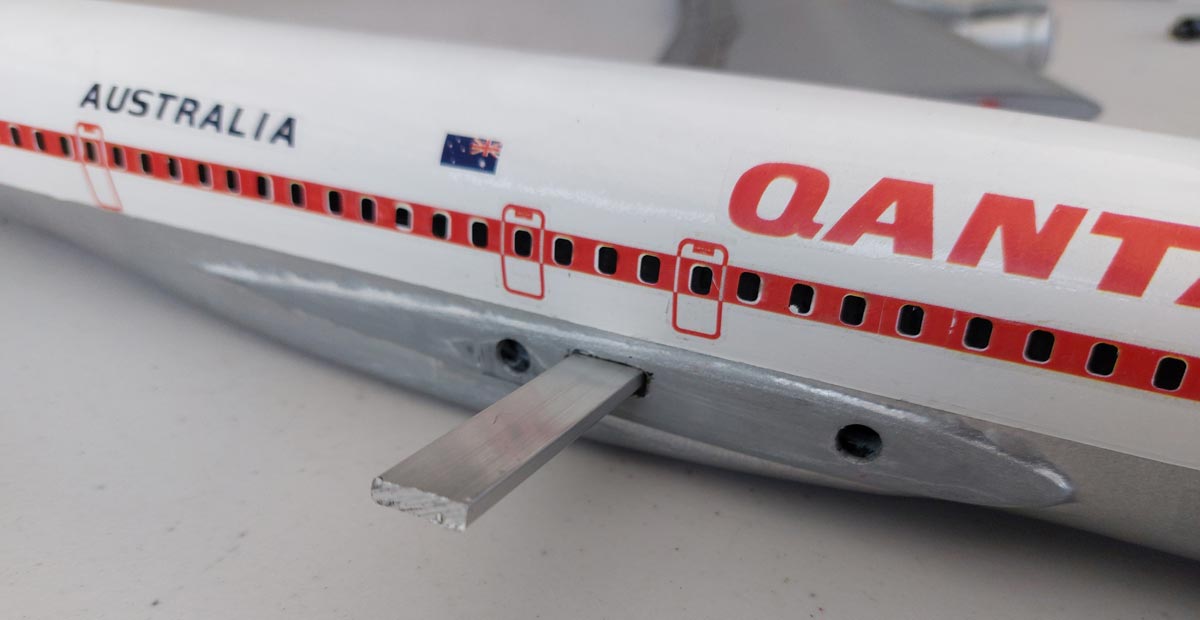
Originally the wings were to be glued on with Super Glue Gell, but I decided to just use the aluminium spar and plastic plugs, so that the wings could be removed if necessary, such as for transporting the model.
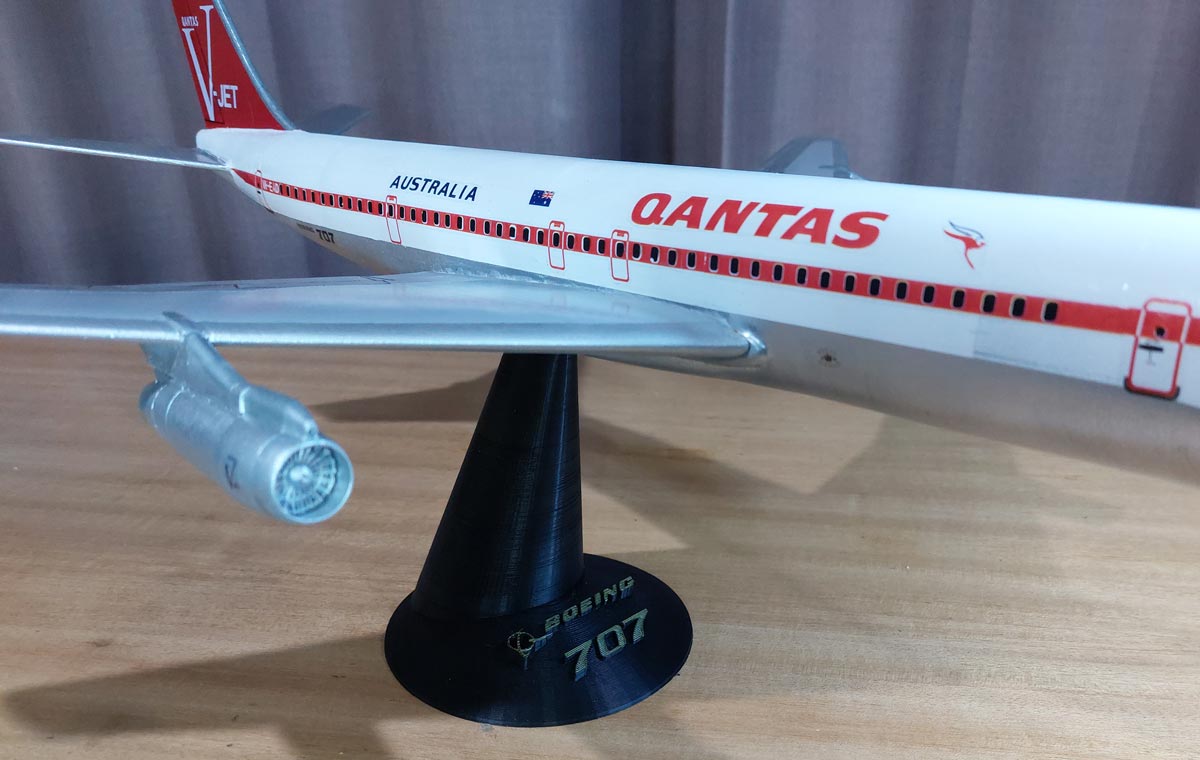
As the model was a bit tail-heavy, I used the hot aluminium bar to melt a new stand slot into the bottom of the fuselage, slightly aft of the original 3D print slot.
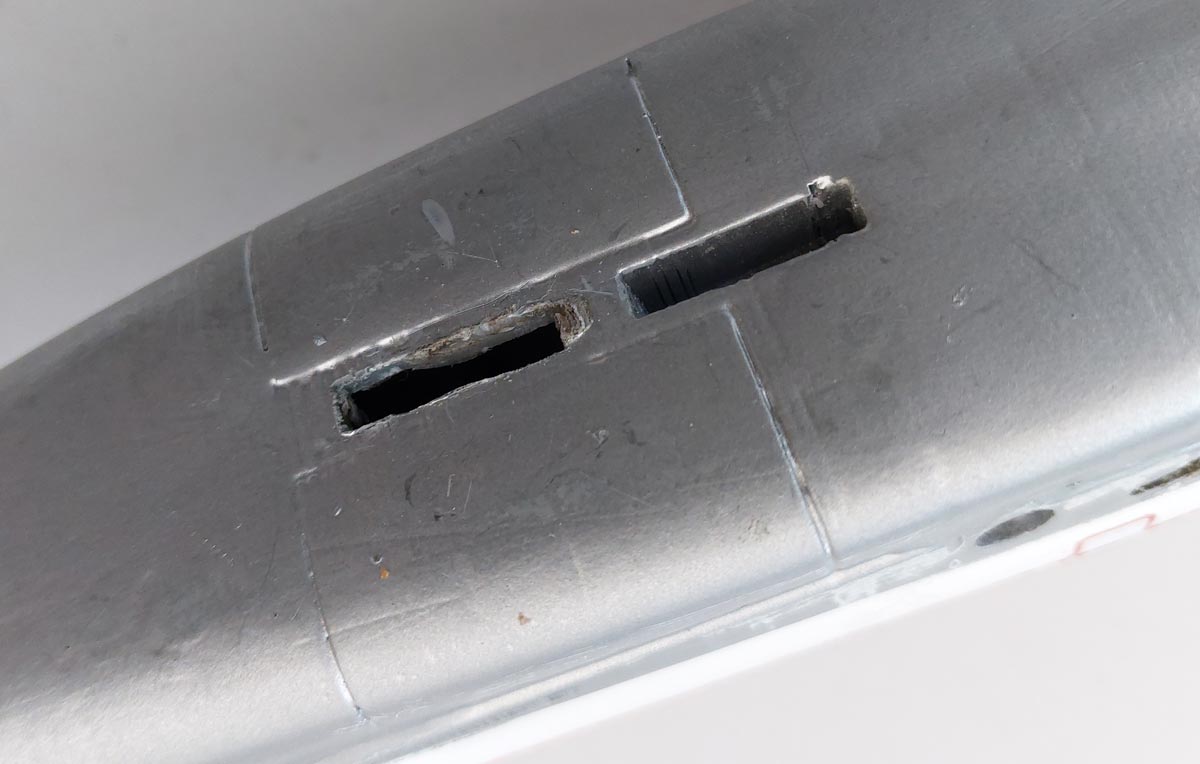
Now the model sits balanced on the stand without looking like it’s about to fall off tail first!
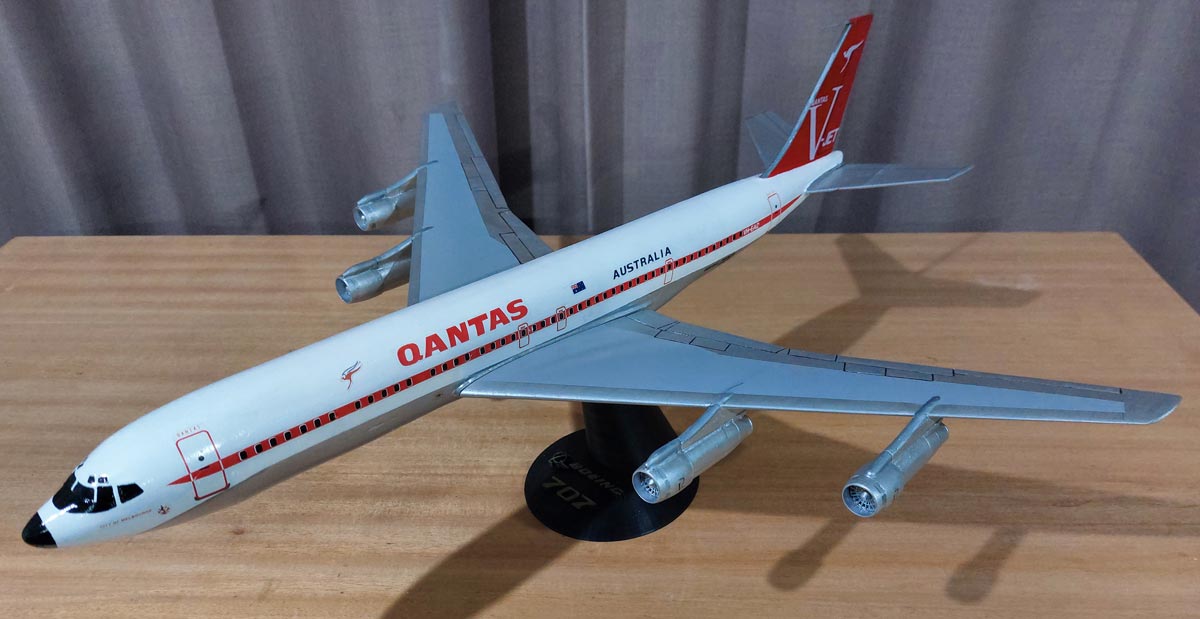
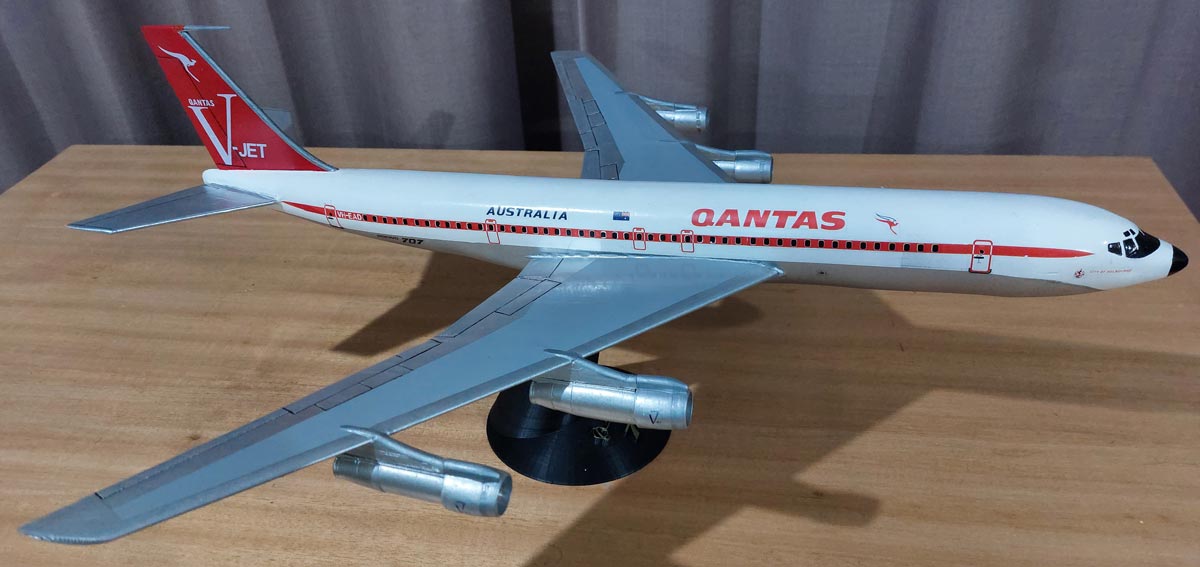
The 3D printed model in the Qantas 1970 livery, with the 1960s resin Skyland model.
Both are 1/72 scale, just under 640 mm in length.
