Table of Contents
Introduction
After producing a virtual 3D model of the S 303 in Lightwave, the next challenge was to adapt the Lightwave model to suit printing on a 3D printer – converting from virtual 3D space to actual 3D space… not always an easy task!
Every object in the actual 3D world must have height, width and depth – the thinnest piece of paper, a sheet of gold leaf, both have some thickness to them.
Not so in the virtual 3D world. 3D objects made from polygon shapes can have height and width and zero depth. They can have a surface face on one side, and nothing at all on the other side. Such 3D objects can not exist in the actual 3D world and so must be modified where needed to have the dimension of depth. Otherwise, they could not be 3D printed.
Click images below for larger views
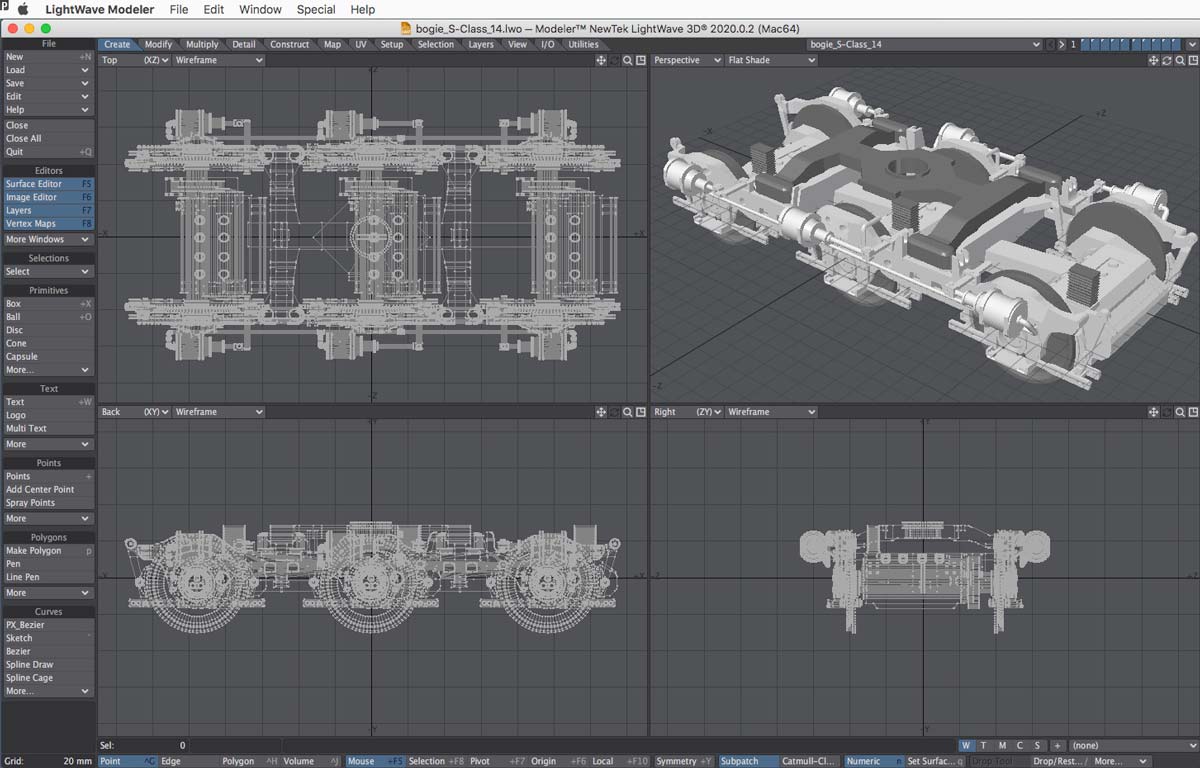
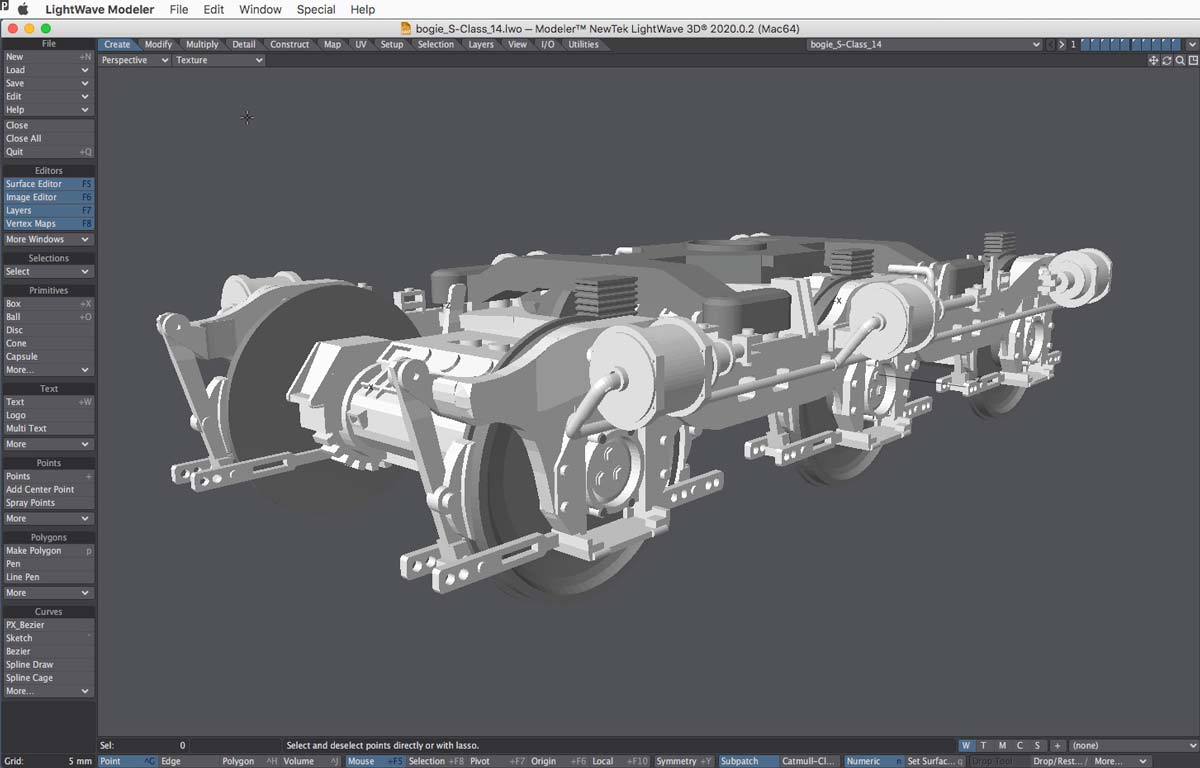
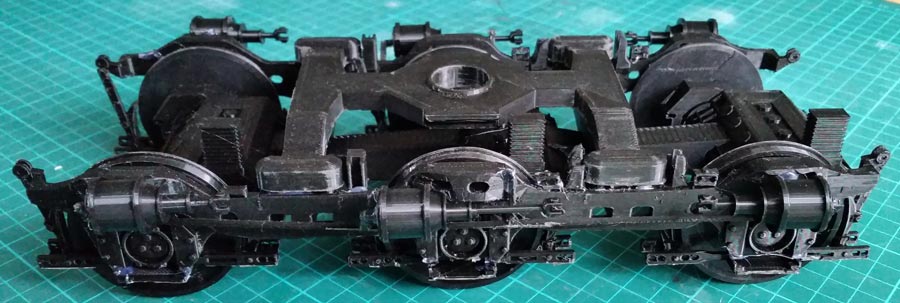
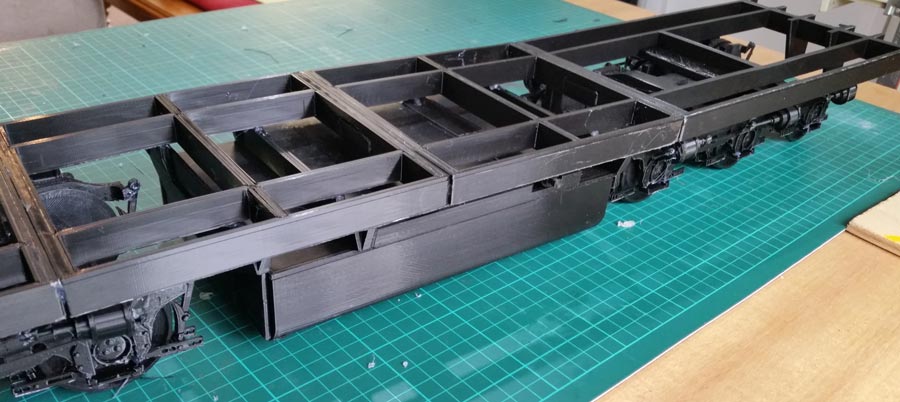
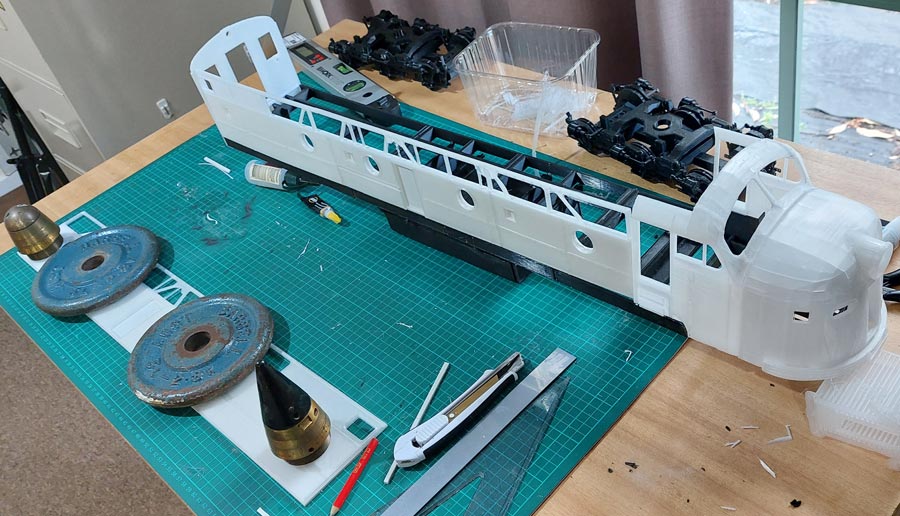
Bogies & Sub-floor Frame
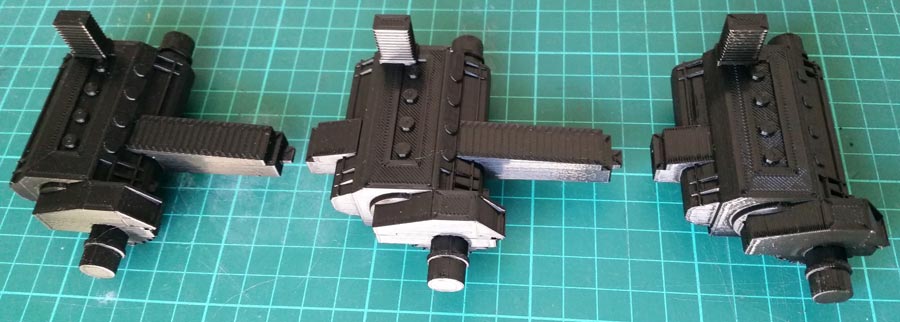
Bogie design in Lightwave


3D print – bogie
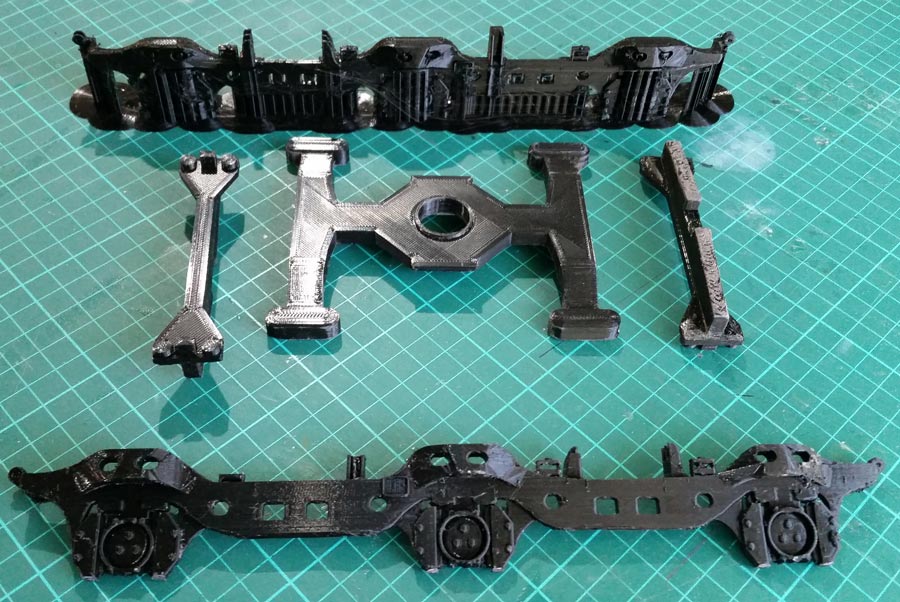
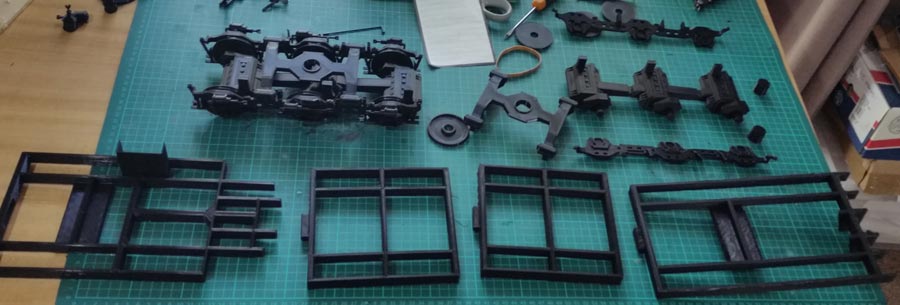
Sub floor frame sections
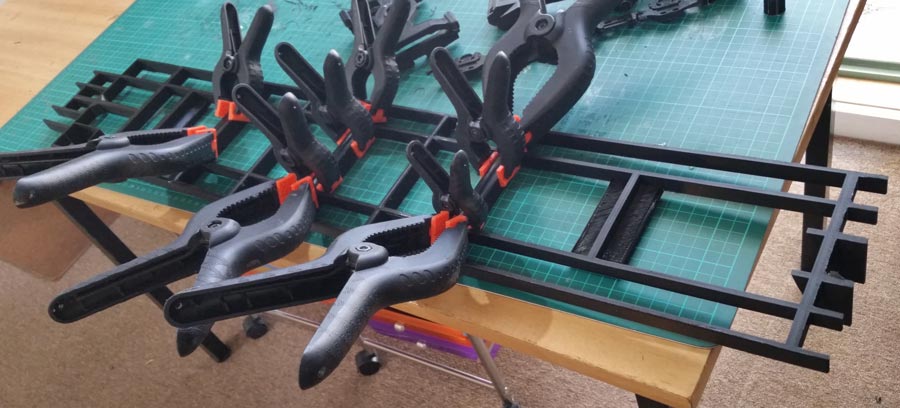
Gluing the sub floor sections together
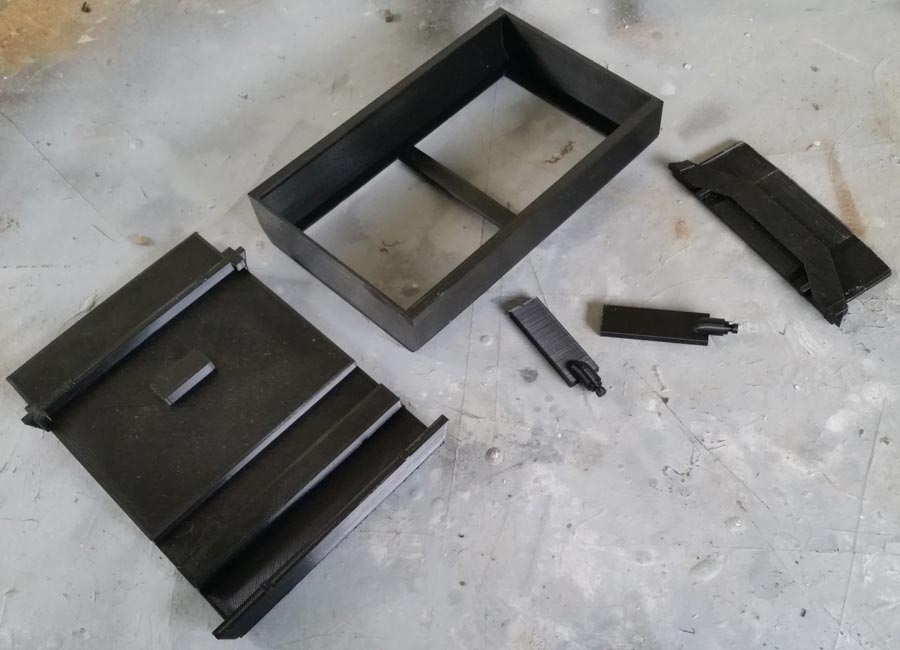
Fuel Tank
Fuel tank pieces: top, sides, end, fuel caps. The bottom of the tank was left open to save printing time. Below: Fuel tank glued to underside of sub-floor frame.
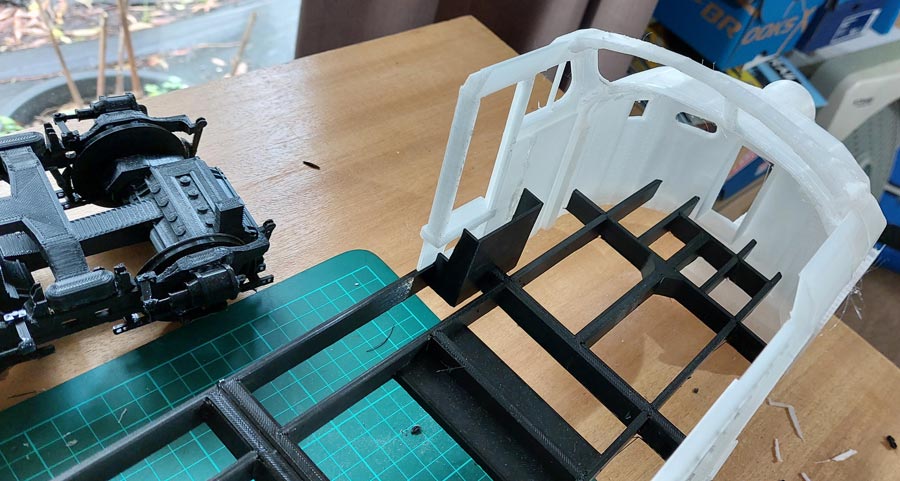
Nose and Cab Sides
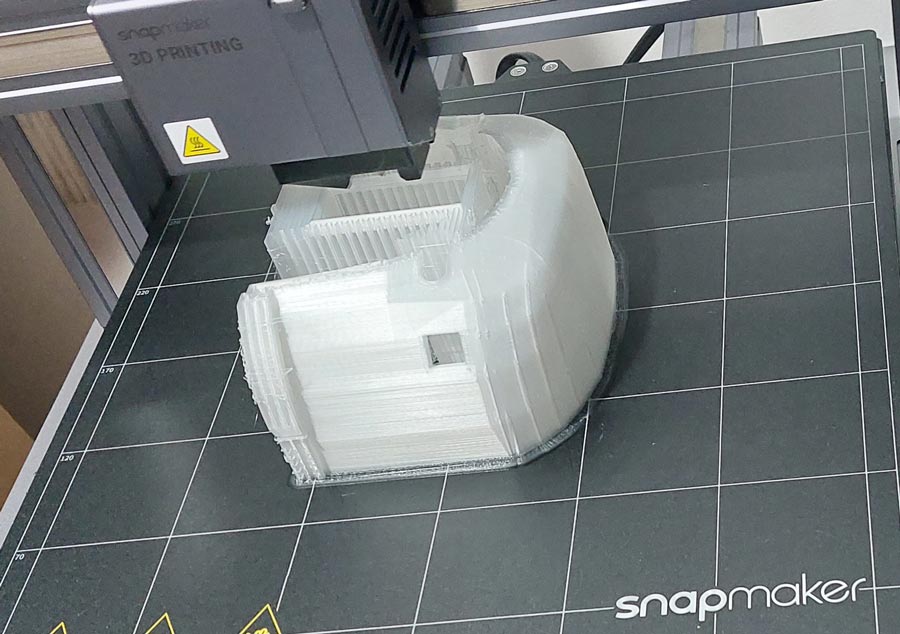
Printing the nose section. Due to its shape, it required a considerable amount of support material to be printed.
Superglue and Bicarb were used to glue the nose, cab sides and front window together. Superglue and Bicarb set off almost instantly, rock hard. It’s great for gap filling and can be sanded smooth.

Assembled nose and cab sides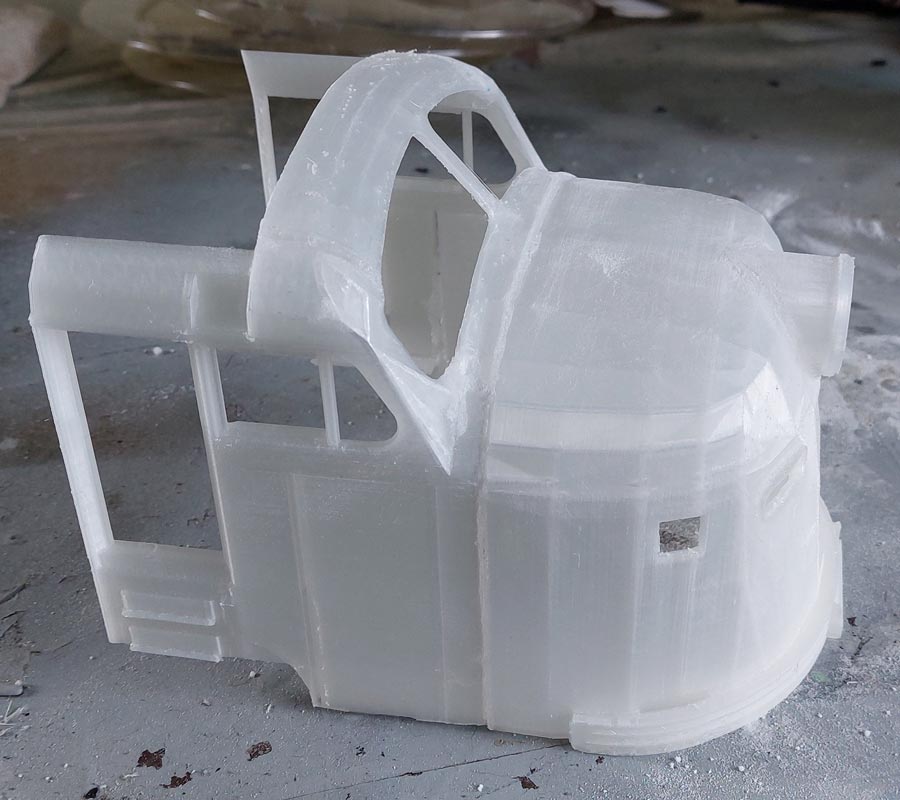
Test fitting the nose and cab sides for mounting on the sub-frame
The nose was covered in automotive body filler and smoothed off with a Surform, acetone and sanding. Later on, this would be followed up by many layers of spray putty and sanding in between coats.

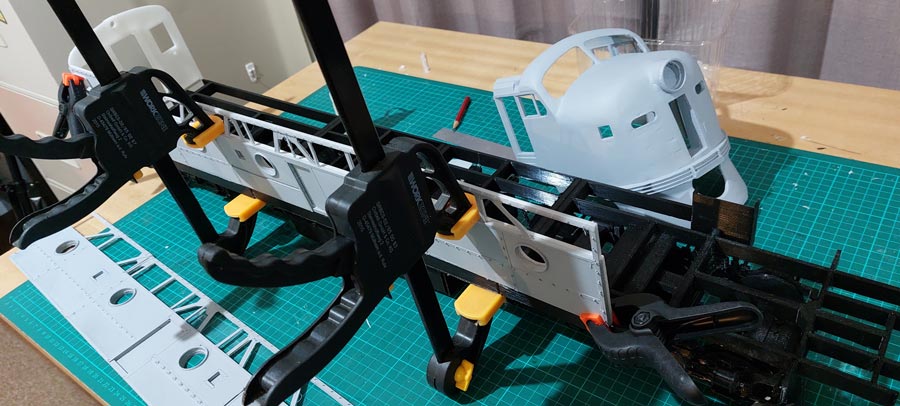
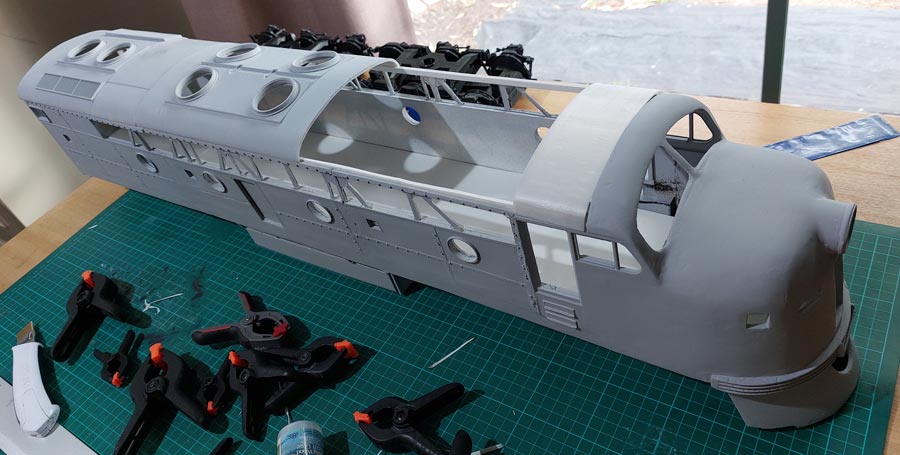
Rear, Sides
Printing the rear wall

Due to the length of the model and the size of the 3D printer’s bed (320 x 320mm), the sides were printed in three sections.
Side sections were glued onto a sheet of 3mm thick plastic card for rigidity. In this photo, one side is attached to the loco; the other side lies flat under some weights while the glue sets. Rather than using Super Glue, these sections were stuck together using balsa model glue.
Gluing a side into place, held by clamps
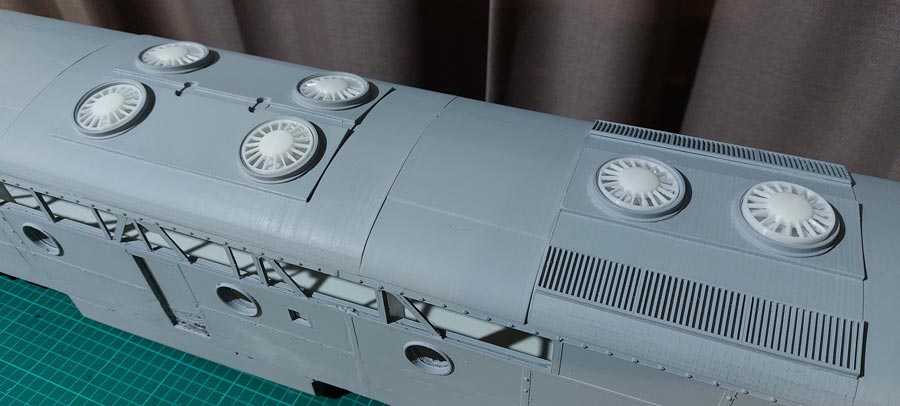
Roof and Fans
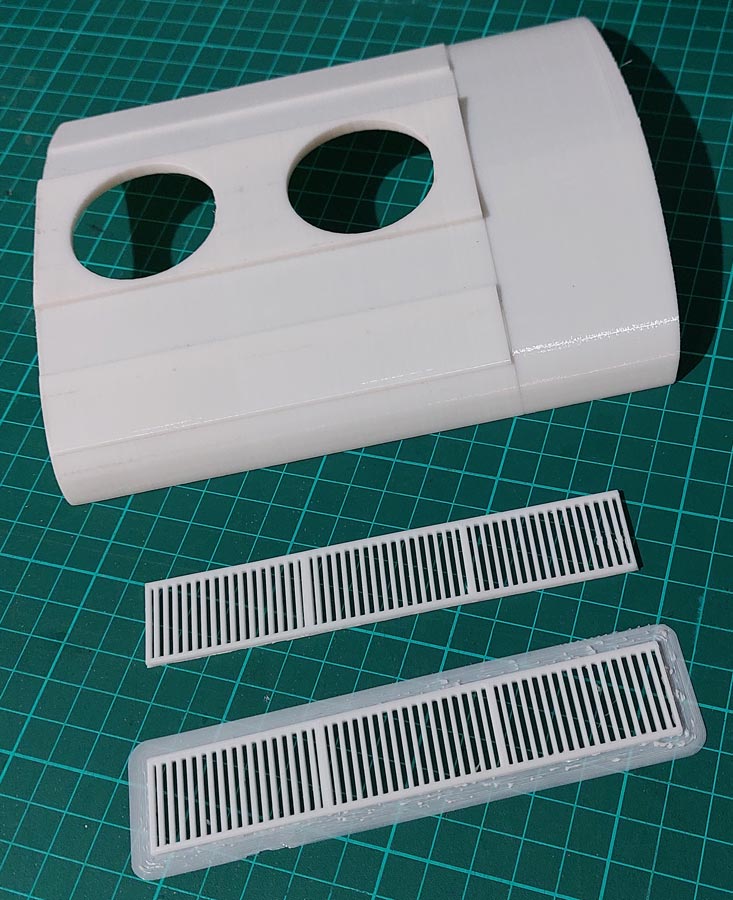
The roof was printed in sections. The rear section rectangular grilles were printed as separate pieces and Super Glued in place. Circular holes are for the fan assemblies.
Rear and mid roof sections

Roof fan pieces

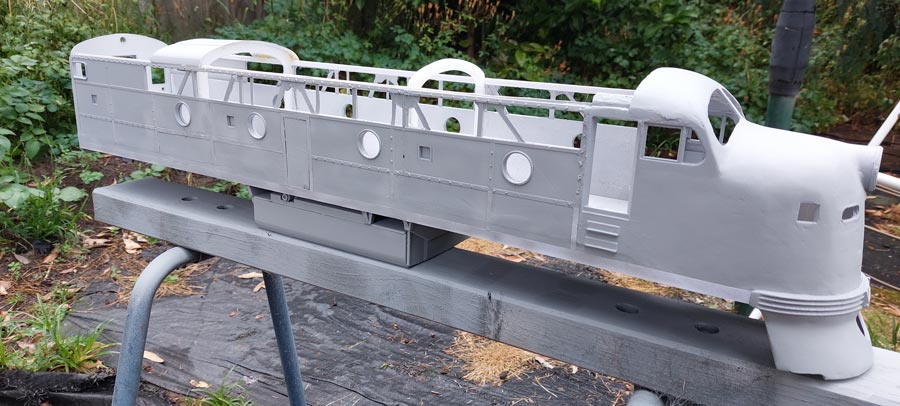
Priming with spray putty
An application of automotive bog to fill some gaps
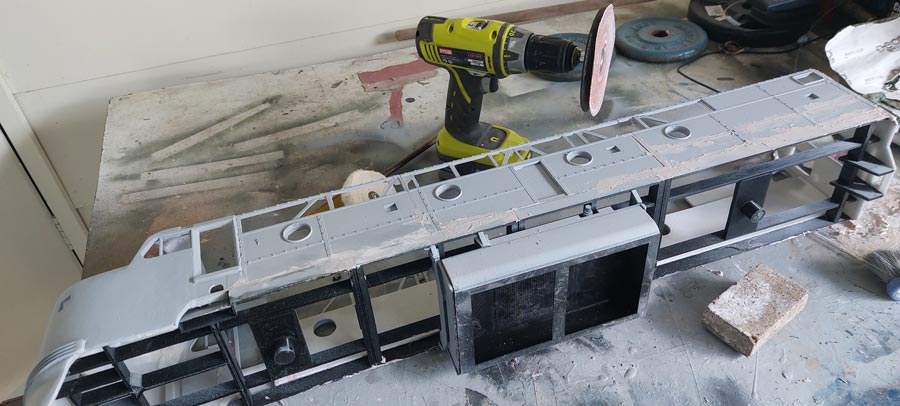
Some of the side frames didn’t print properly, so thin strips of paper did the job of providing the illusion of a visible framework.

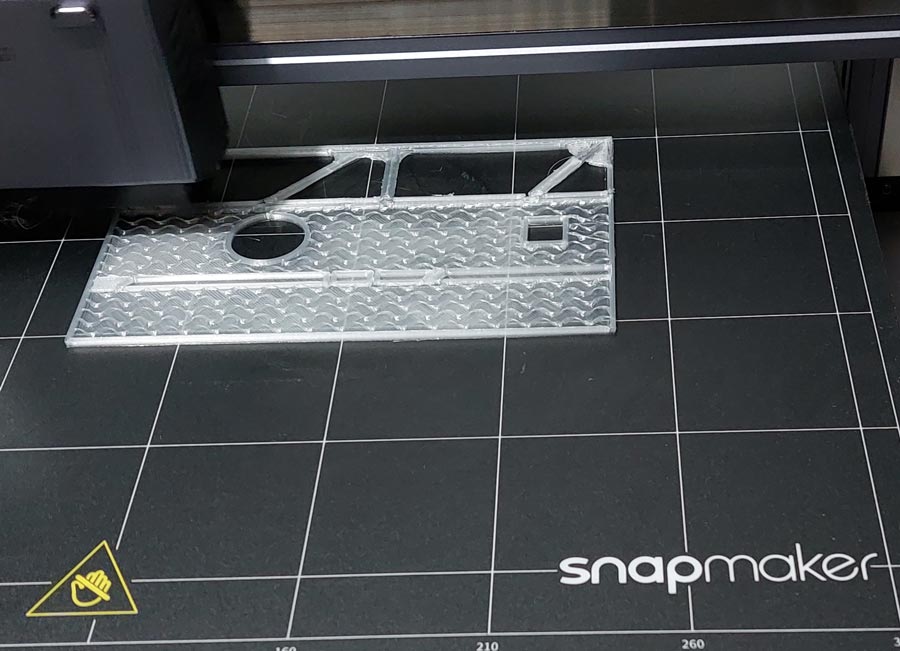
Floor
Floor cut from 3mm plastic card. This is the main floor running the full length of the loco, at engine room level. The cab section will eventually have its own floor, elevated above the main floor.
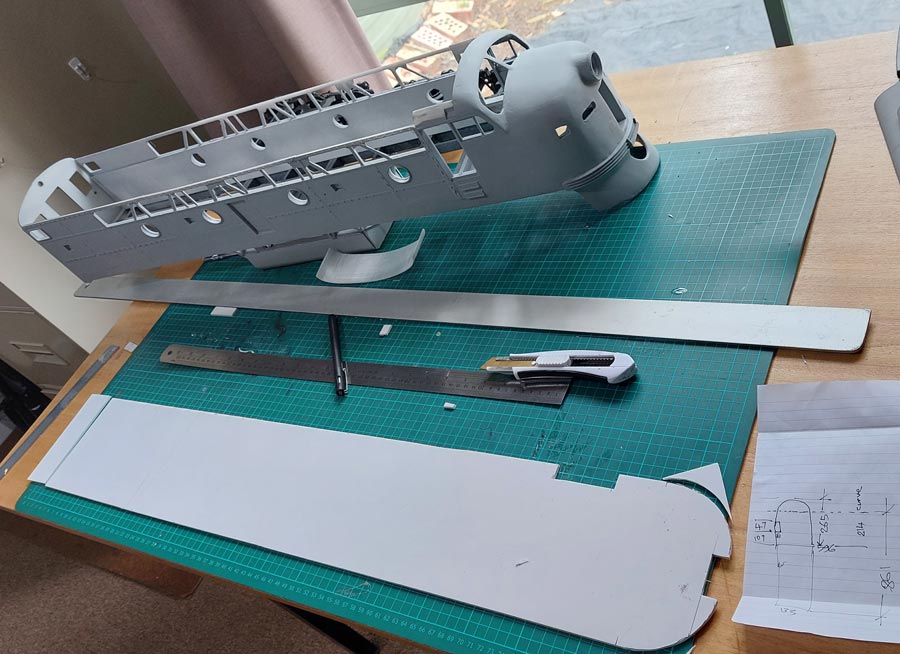
Main floor installed
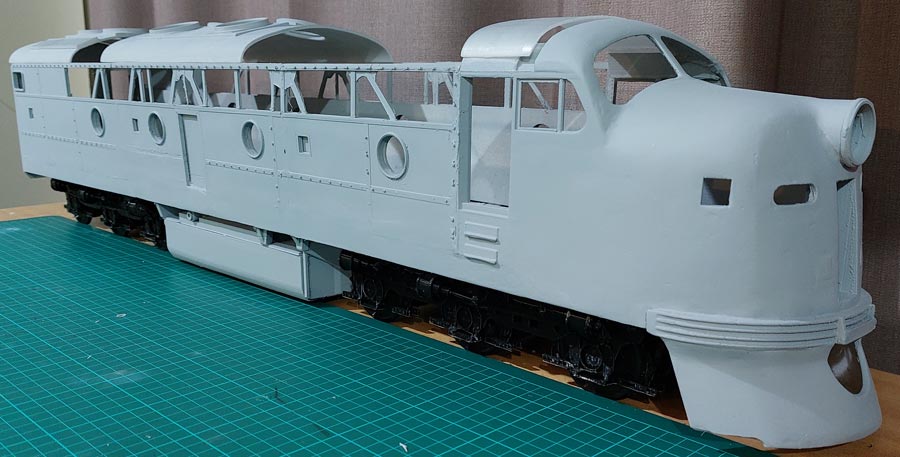
Side views

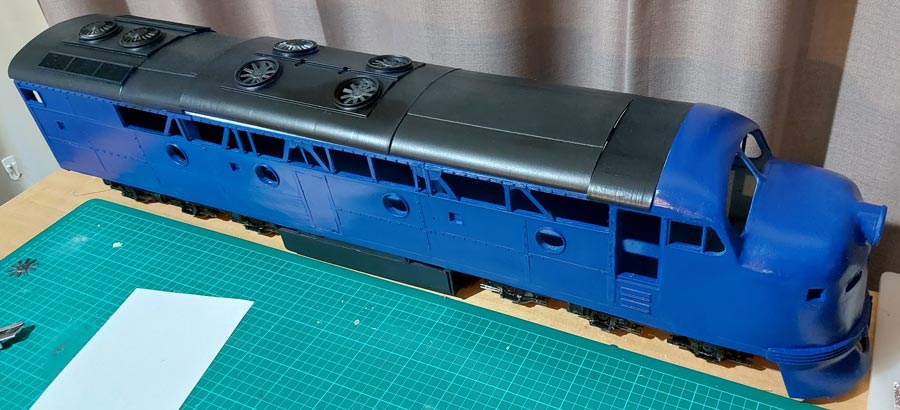
Painting
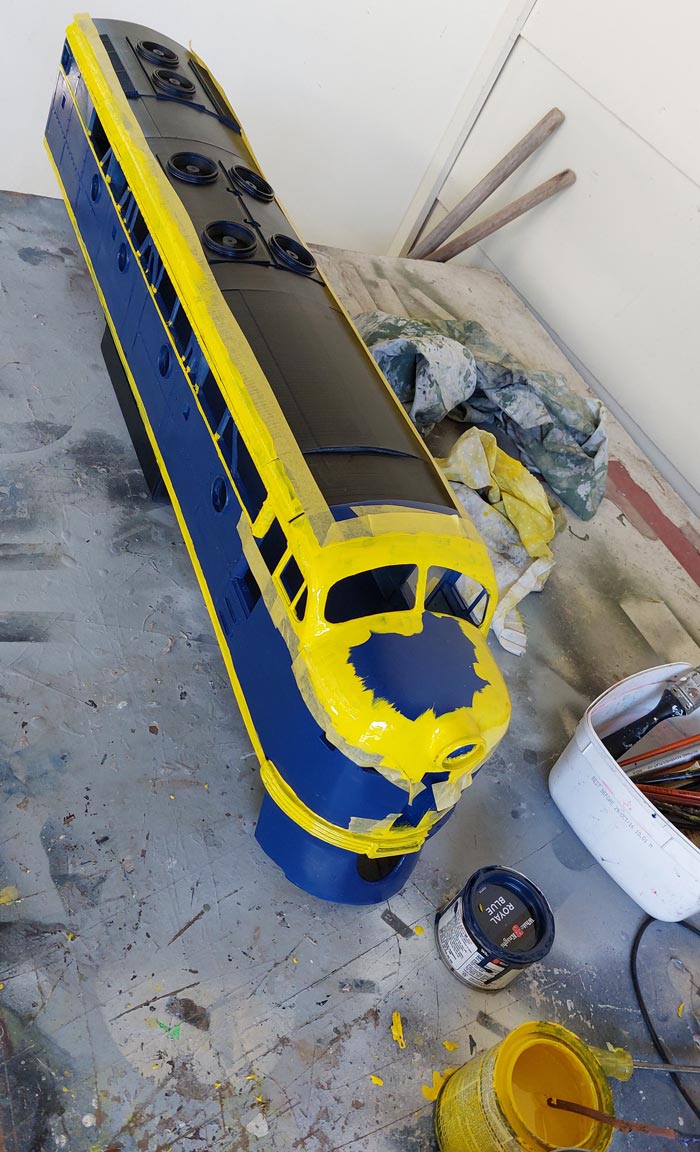
Spray paint from cans. Gloss Royal Blue and matte black
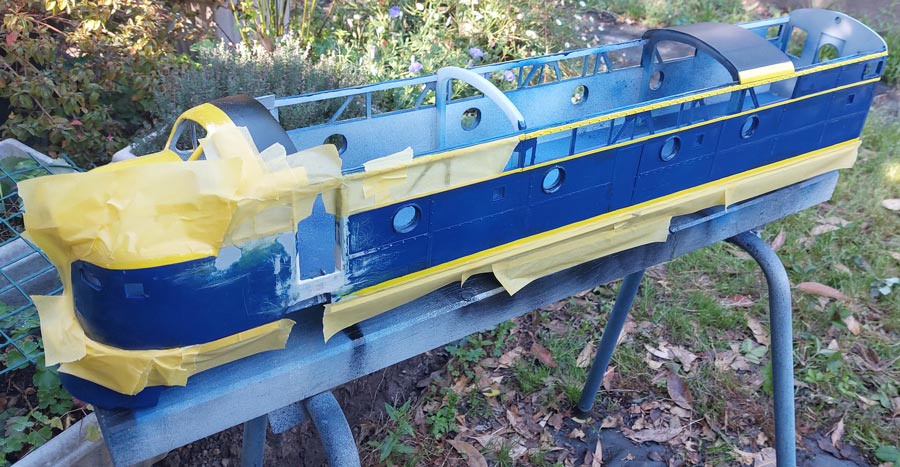
Masking with Frogtape Yellow – peels off without ripping off the underlying paint.
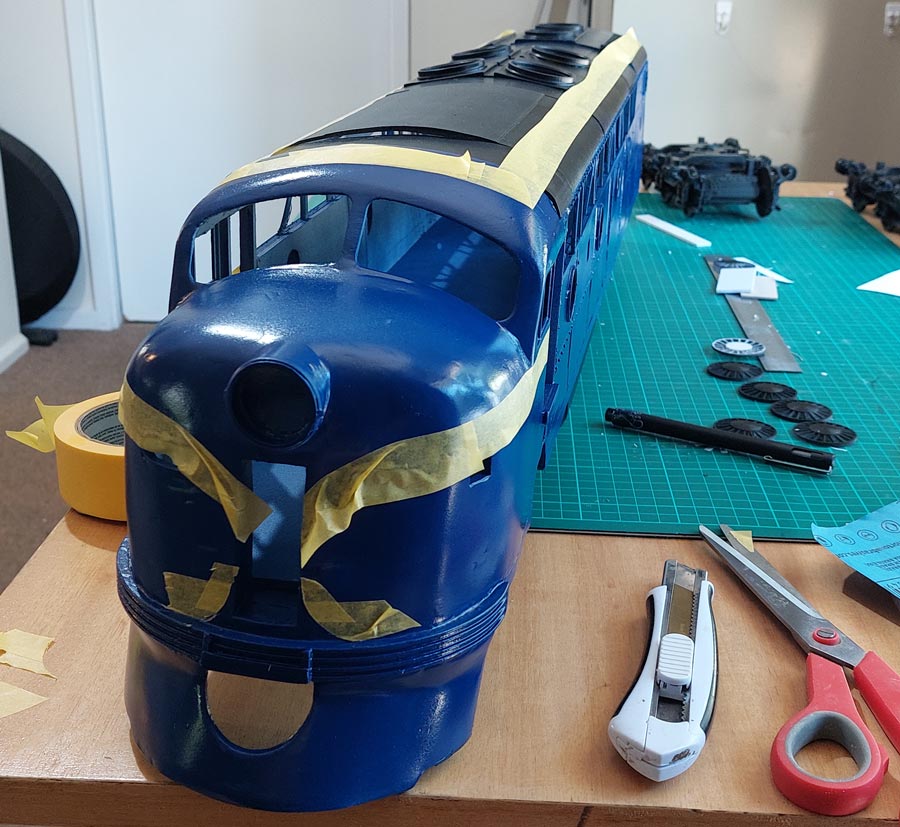
Applying yellow One Shot sign painting enamel, by brush
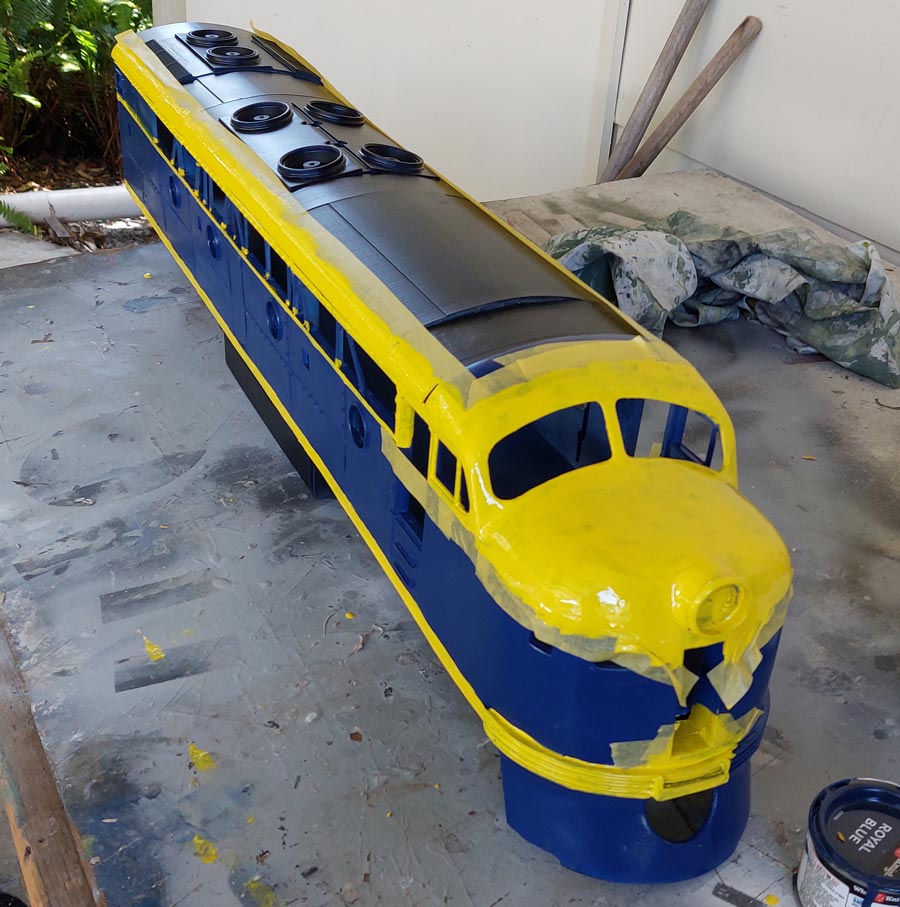
Alignment Problems
Once the yellow paint was applied, it became apparent that the driver’s side window sill and door was too low and did not align with the rest of the side wall. After some investigation it seems that I made a mistake in the Lightwave stage.
The yellow stripes on the side (right of door) are supposed to align with the nose. The window is supposed to align with the open space on the side, but is obviously too low.

The choices to fix the problem were to cut out the cab section and replace it with a replacement part, or the “cut and shut” method – to cut away the tops of the window and door and build up the bottom with automotive body filler. I decided to use the cut and shut method. Cutting through the plastic was achieved using a chisel, heated in a butane gas torch… sure smelled bad!
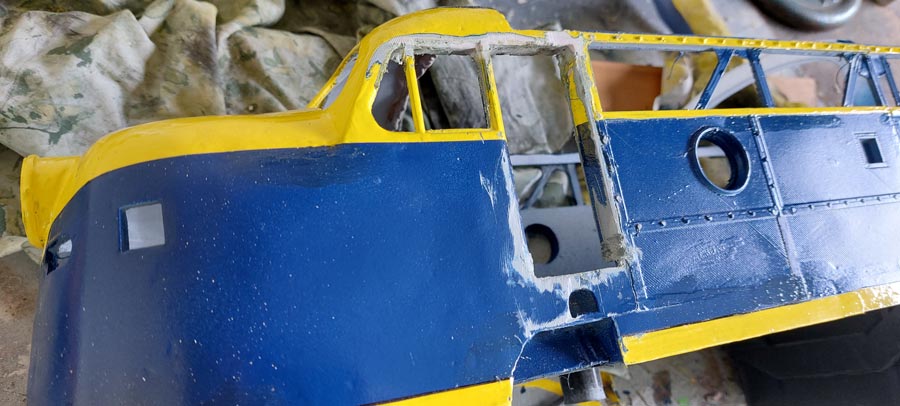
Once the cab was fixed, the loco was masked for repainting
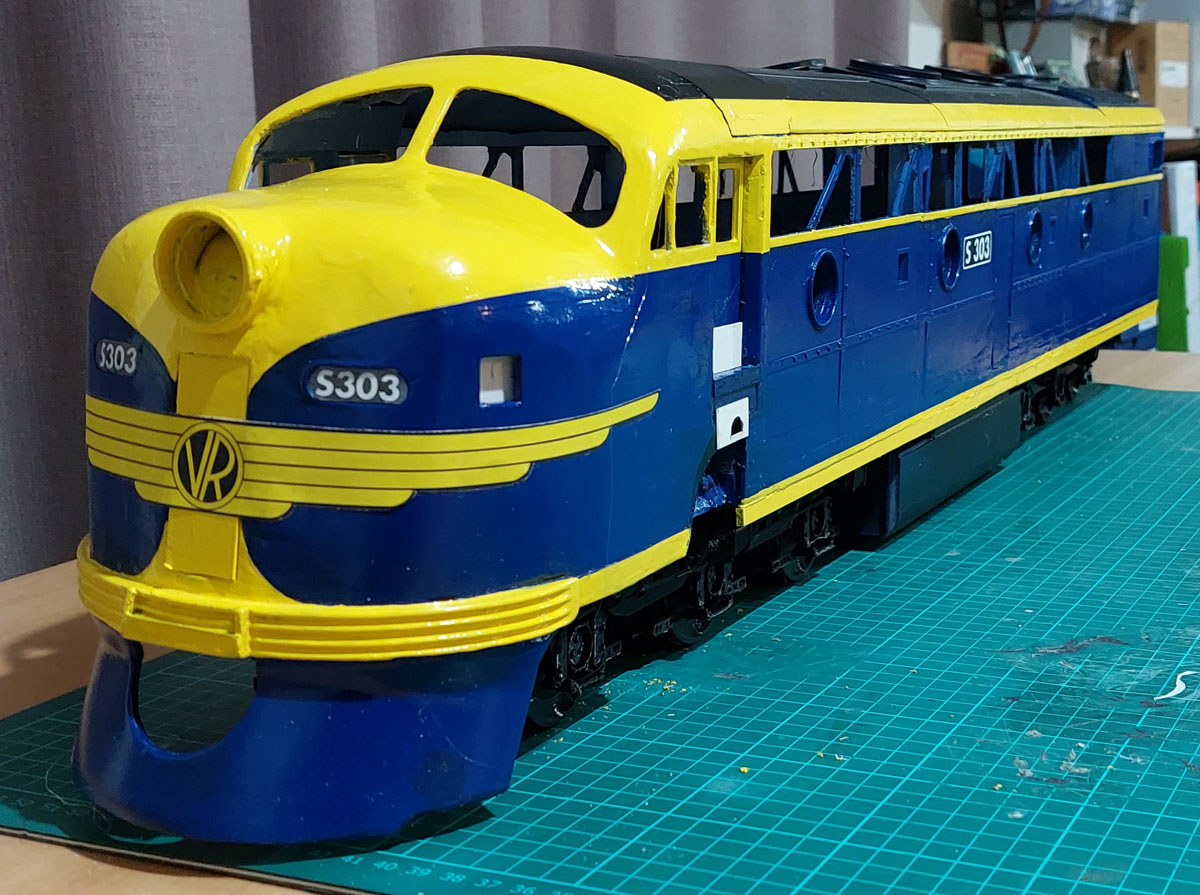
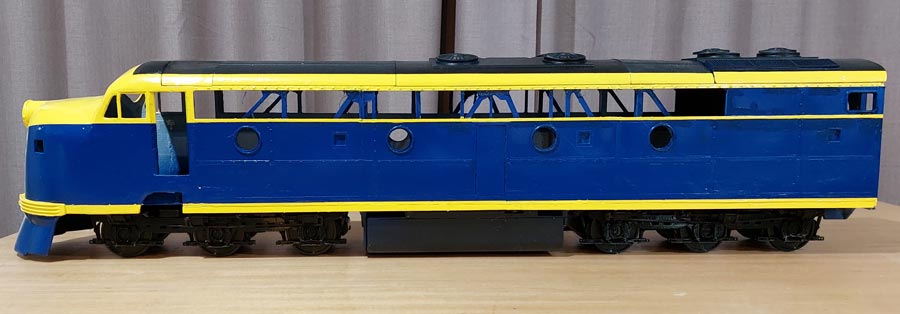
That’s better!

S 303 with my X 31 balsa model

Wings added. Drawn in Adobe Illustrator, colour laser printed on paper. Getting the right shape to fit the curve was a bit challenging!