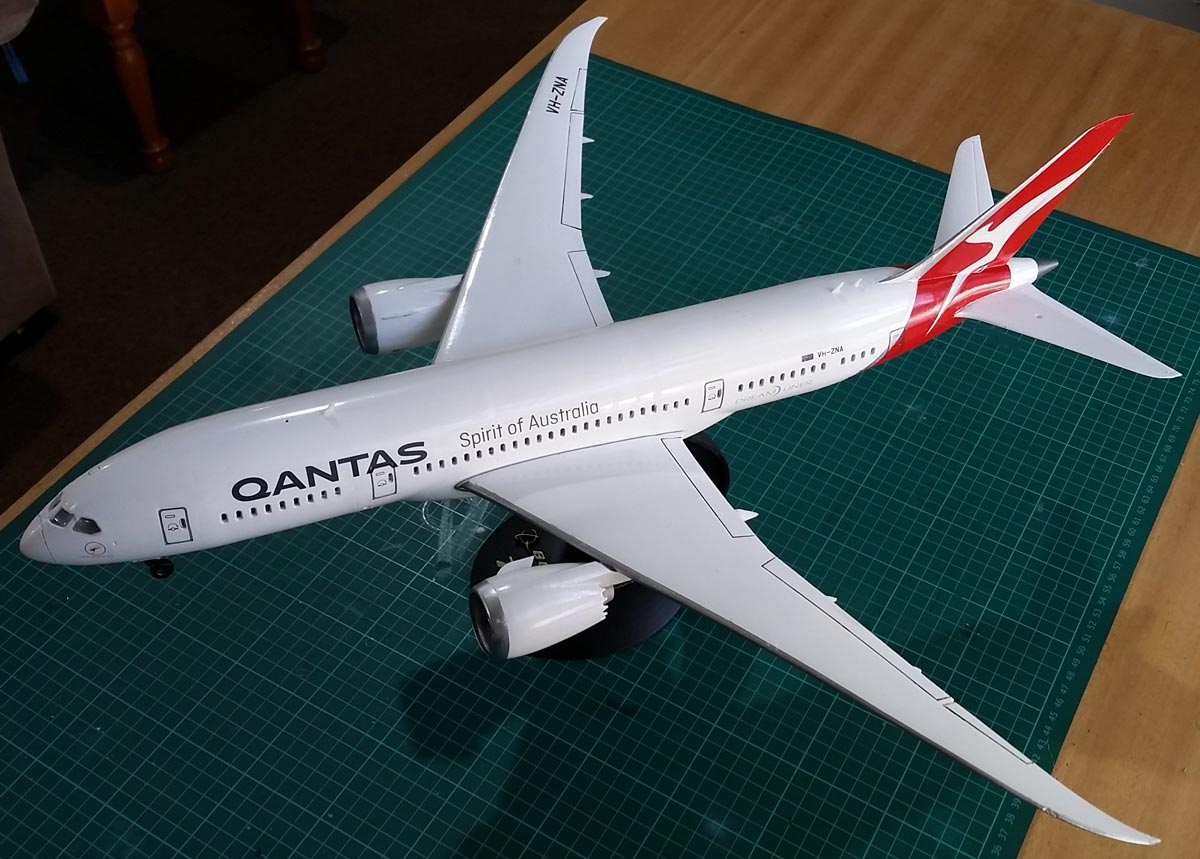
Qantas Boeing 787-8 Dreamliner 3D printed model 1:100 scale (58c cm long) I bought the STL files from the online 3D library Thingiverse. The creator Lukys had designed and printed his model at 1:72 scale, making it 77 cm in length, but I opted for a smaller print to save plastic and print time. See link here, and my make of it here.
Click images for larger views
I started by scaling up to 1/72, but realised that the model would be 787 mm long, use a significant amount more filament, and take ages longer to print. After printing out a 1/72 scale flight deck section (about 7 hours), I decided to stick with 1/100 (about 3 hours for the same section). This totalled 580g of PLA for the complete 1/100 model; probably a full kilo reel for 1/72.
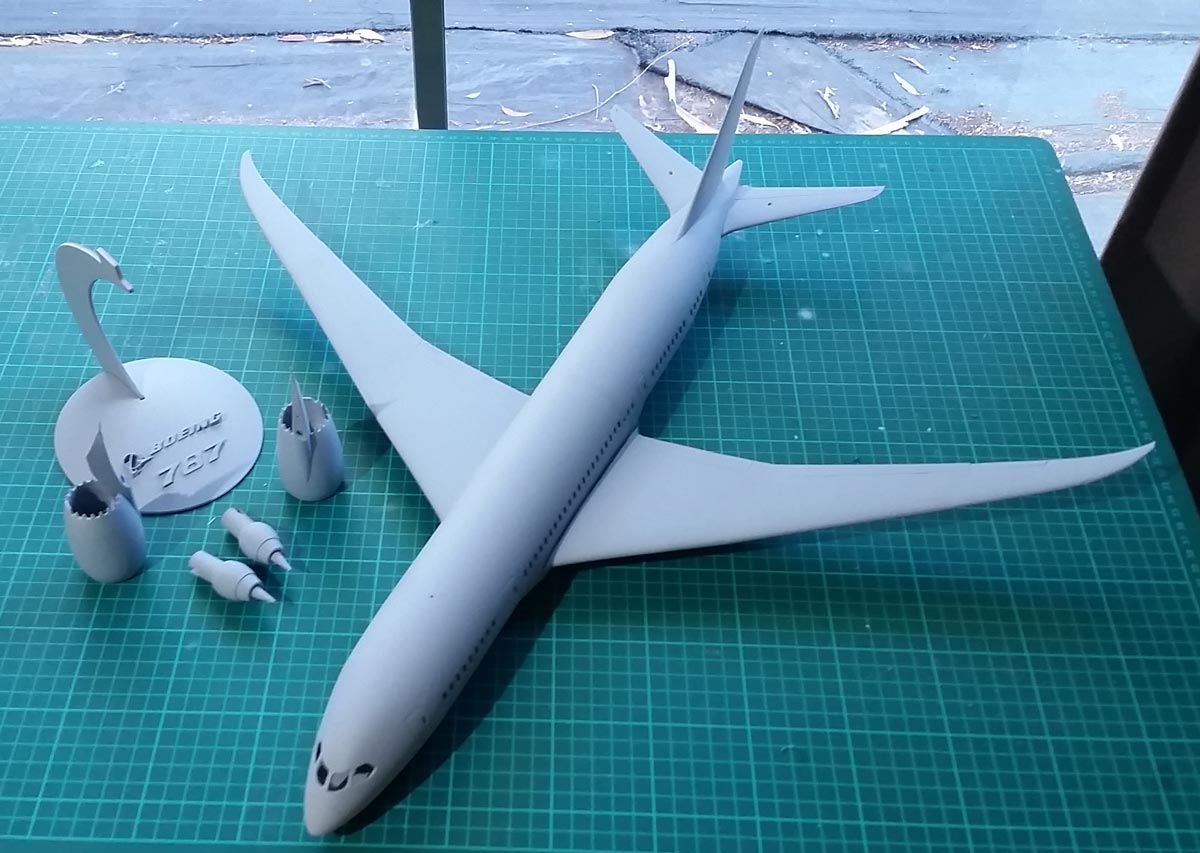
Prior to printing, I ‘assembled’ the .stl parts as a complete model in Lightwave 3D. This helped to visualise how the individual parts would fit together, and identify possible assembly problems. I also used Lightwave to modify the supplied stand base .stl file to add the Boeing logo and 787 details.
I also came by a collection of high resolution photos taken in a hanger when Qantas received their first 787. The photos showed close-up detail of almost the whole aircraft exterior from ground level. Using some of these photos, I modified the main gear wheel well covers to match the shapes in the photos using Lightwave. Using Photoshop, I manipulated some of the photos to make decals for the doors, but abandoned the idea during the decal test stage, instead opting for doors drawn in Adobe Illustrator.
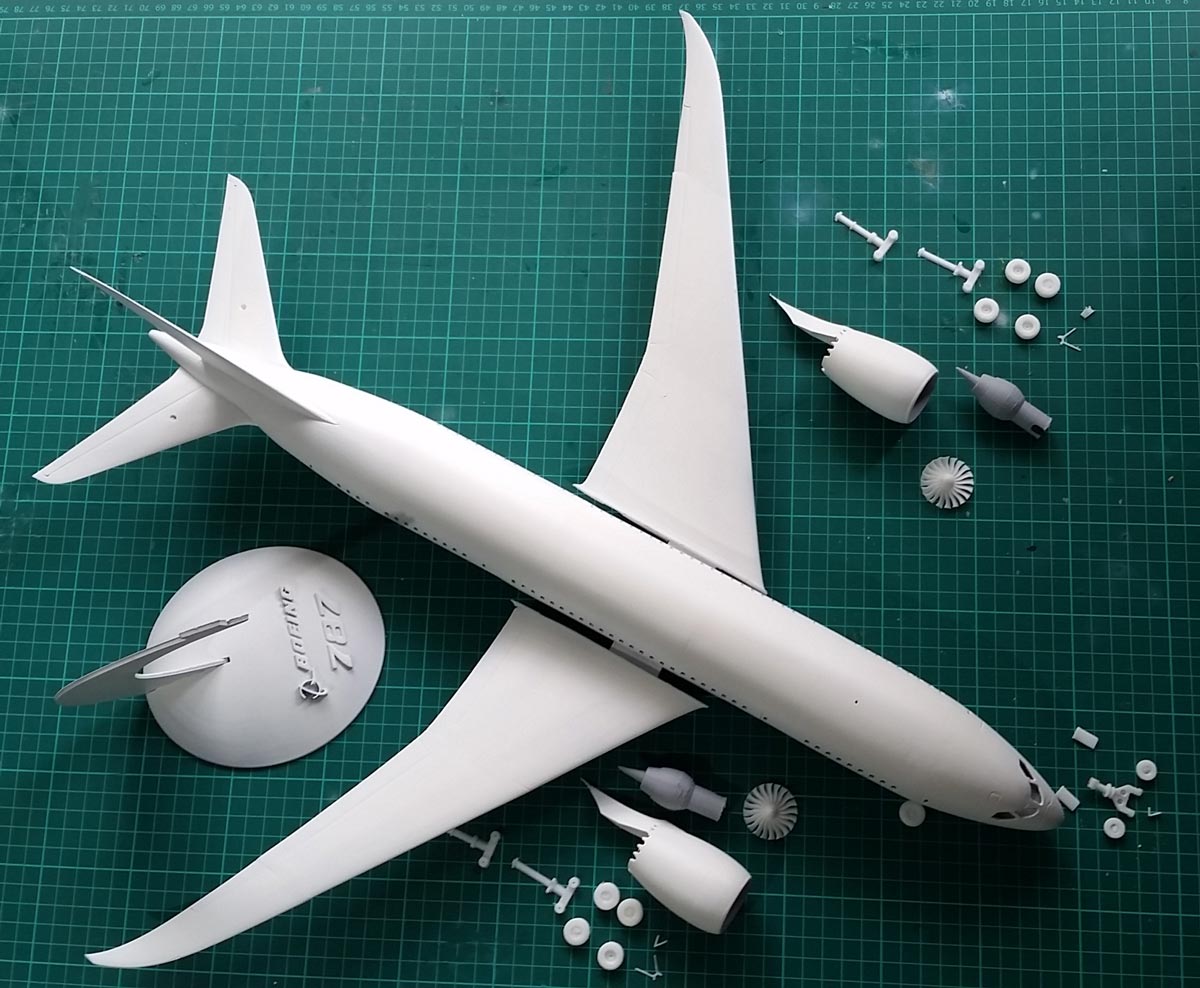
Printed parts formed from PLA plastic on a Snapmaker 2 A350 3D printer. Most of the PLA parts were glued together using SuperGlue, but the wheels, wing flap actuator covers and antennas were attached with a hot glue gun. The wings have not been glued and remain as a jam-fit so they can be removed for transporting the model if necessary. Tip for using SuperGlue: wear nitrile gloves so you don’t stick your fingers together – and the glue won’t stick the gloves together either!
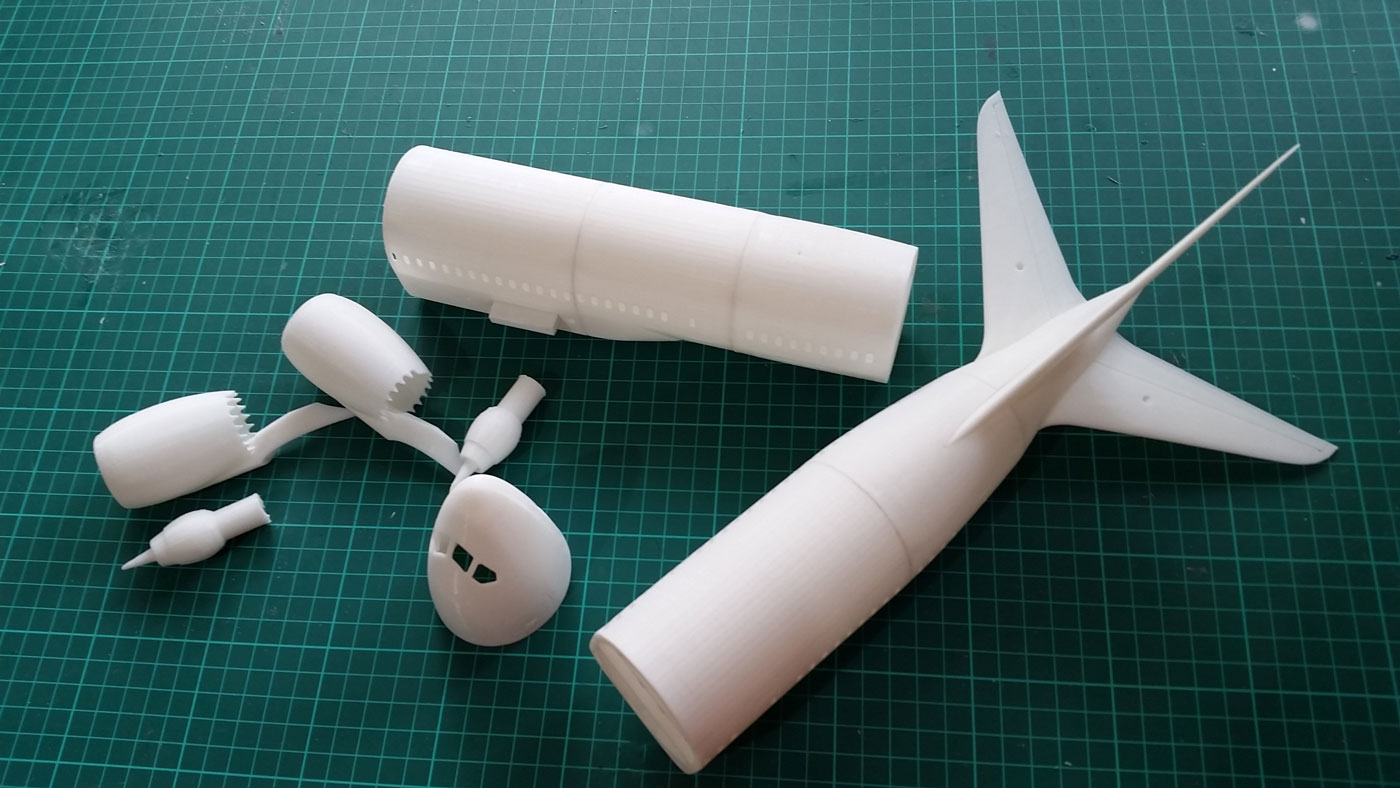
Flight deck and forward fuselage section prior to gluing with SuperGlue

The model STL files were provided for a gear up or gear down version – I opted for gear down.
Printed engine fans with support material still attached. Although unpowered, the fans are to be able to turn freely inside the nacelles.

Initially my engine fans were slightly too large to fit into the nacelles, but the problem was easily solved by sanding the blade tips when spinning the fans in a drill chuck. If I do another print, I’ll reduce the fan diameter slightly in Lightwave.

The window ‘glass’ was formed by smearing ‘Micro Kristal Klear’ across the window holes with a toothpick. Similar to PVA glue, but a bit thicker, this product dries clear. The small side windows were easy to cover, but the larger flight deck windows took a bit of practise to form a film that remained intact until sufficiently dry, rather than popping. The solution was to hold the model by hand in order to keep relevant window flat and level for a few minutes; alternating having the window up towards the ceiling, then down towards the floor. This technique evened out the drooping of the film (due to gravity), producing a reasonably flat finish rather than bowed in or out.
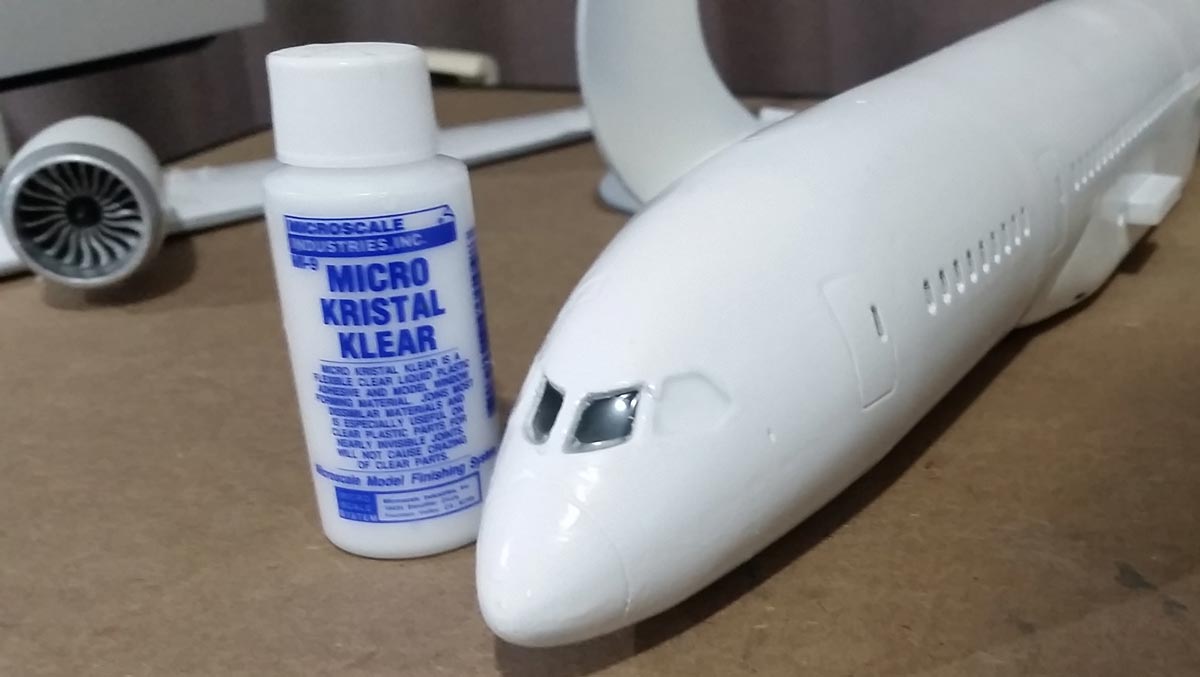
It took a little bit of practice to apply the Kristal Klear just thick enough to form a skin, but not too thin so the skin would pop.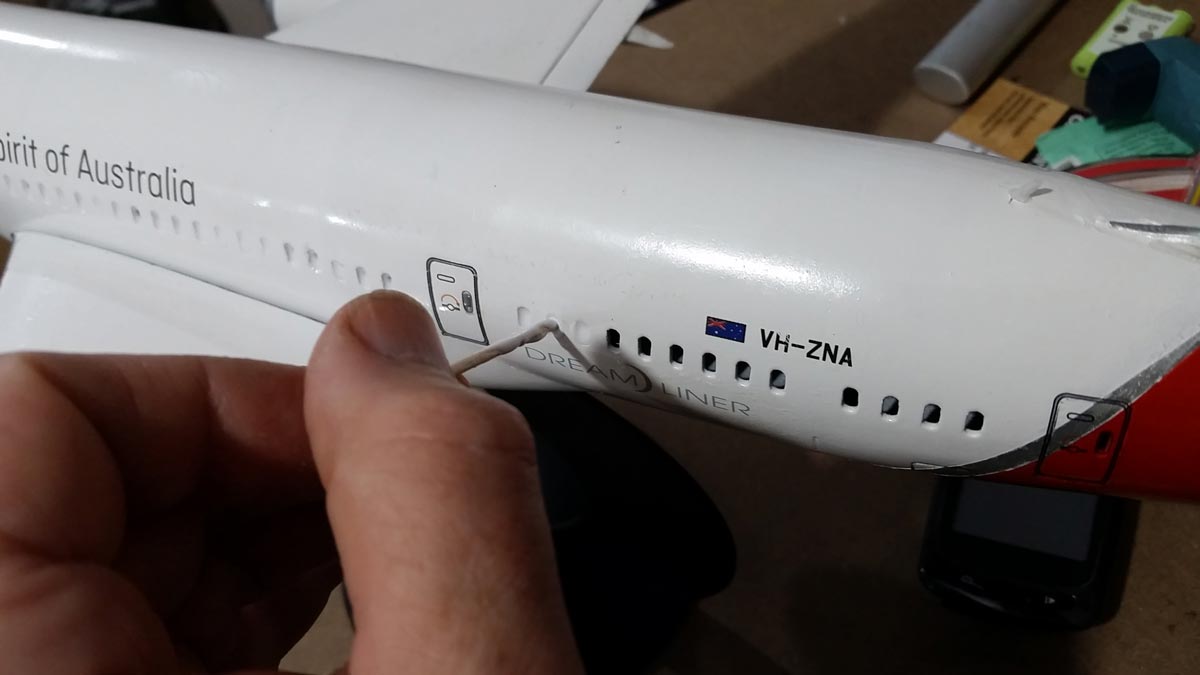
Glued parts were sprayed with many layers of spray putty and sanded smooth in between coats. This eventually hid join lines.
The main masking for the red tail paint was Frogtape yellow tape. To make the masks for the tail Kangaroos, I created the shape in Adobe Illustrator as an outline, mirrored it for the other side of the tail, laserprinted the outline shapes onto copy paper and cut them out with a craft knife. The two Kangaroo paper stencils were then applied to the tail with a glue stick. When the red paint was dry, it was easy to remove the stencils by wetting them with water and rubbing them off, showing the white paint below the red layers as Kangaroo shapes.
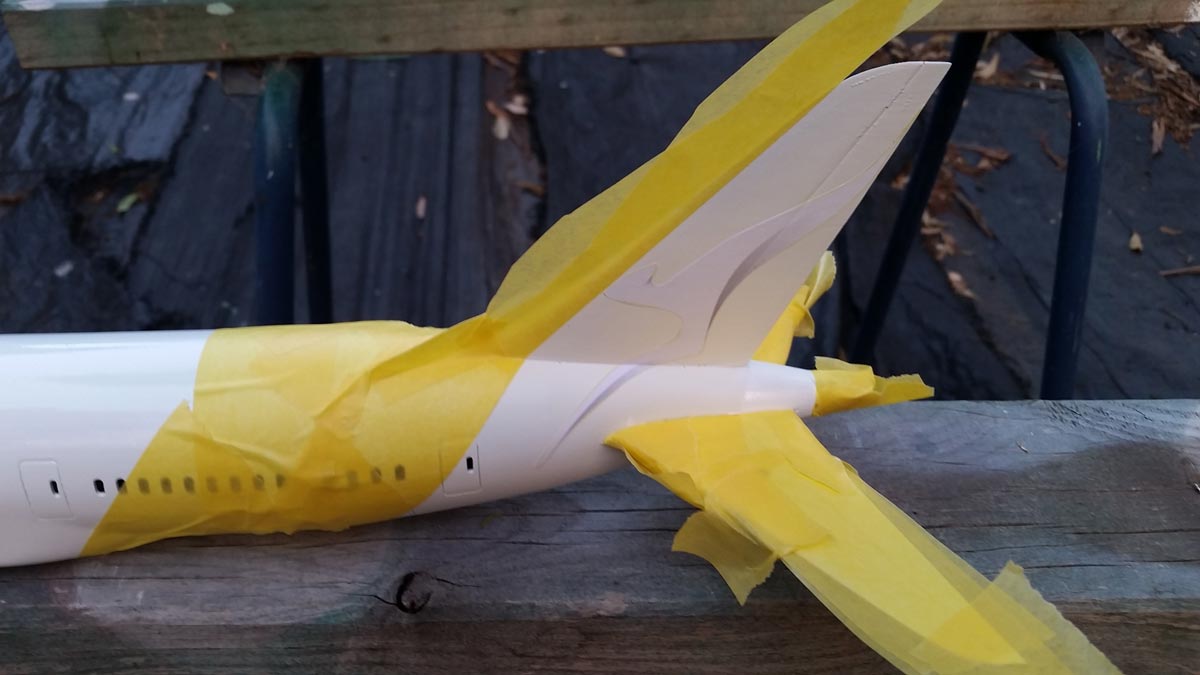
Masking up for spray painting the tail. The masking tape is Frogtape Yellow, for delicate surfaces. It worked well and didn’t pull off any paint when removed. The Kangaroo logo mask is still in place.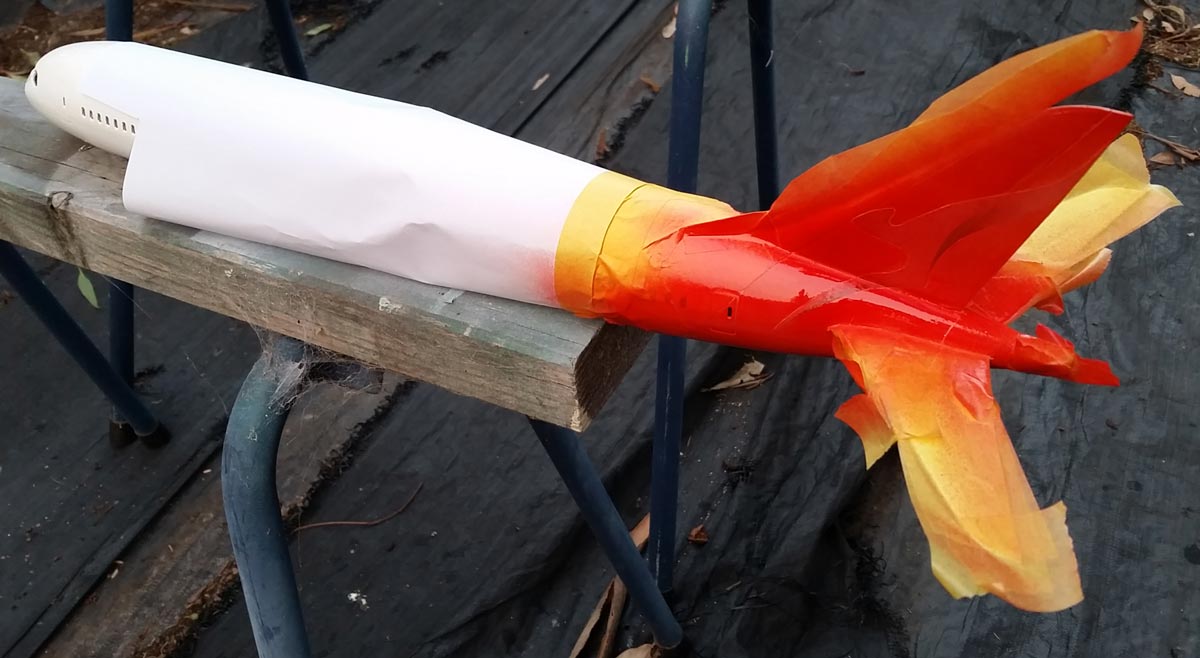
The paper Kangaroo logo mask has been rubbed off.

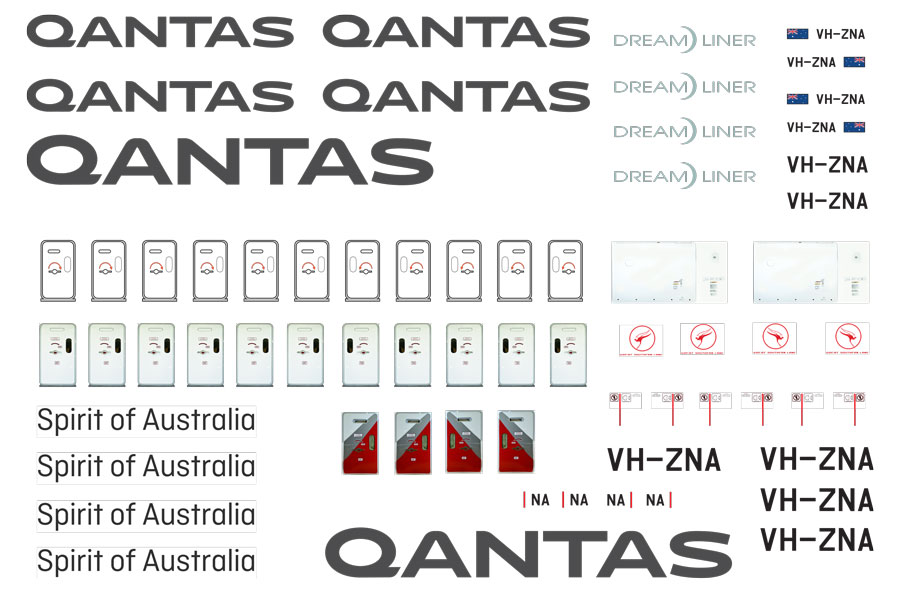
I created the livery decals in Adobe Illustrator and laserprinted them on to some sheets of water transfer decal paper. The Kangaroo decals comprised 8 point red outlined shapes with grey shading. These decals finished off the stenciled Kangaroos on the tail with nice smooth lines. Qantas aircraft show the last 2 letters of the registration number as small white letters on the top rear of the tail. Since it’s not possible to laserprint in white, I’ll have to figure out another technique to add them – perhaps some white Letraset will do.
Update: I sent off to have a sheet of white lettering printed for my Thunderbird 3 model, so included the white tail lettering needed for the Dreamliner.
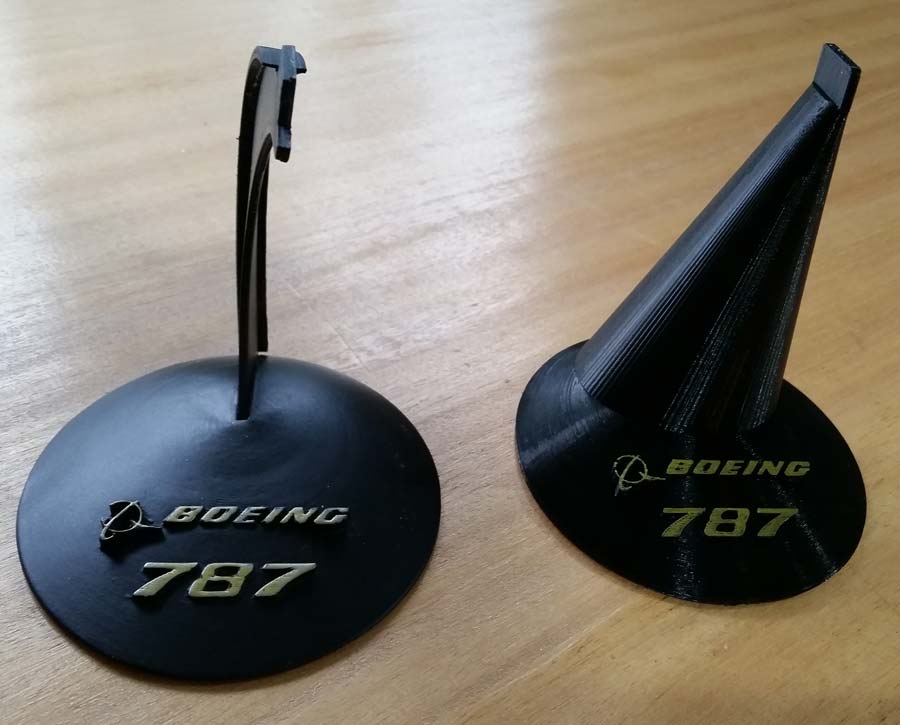
The stand base was a but plain, so I added the Boeing logo and 787 using Lightwave 3D. 
The stand arm turned out to be too weak for the weight of the plane (about 600g). After a failed attempt at strengthening the arm with a custom designed stick-on 3D part, I redesigned a new stand. In this photo showing the original stand, the plane has an unwanted bank!
Lightwave design for the new, stronger, stand.

Old and replacement 3D printed stands. No more bending with the new stand!
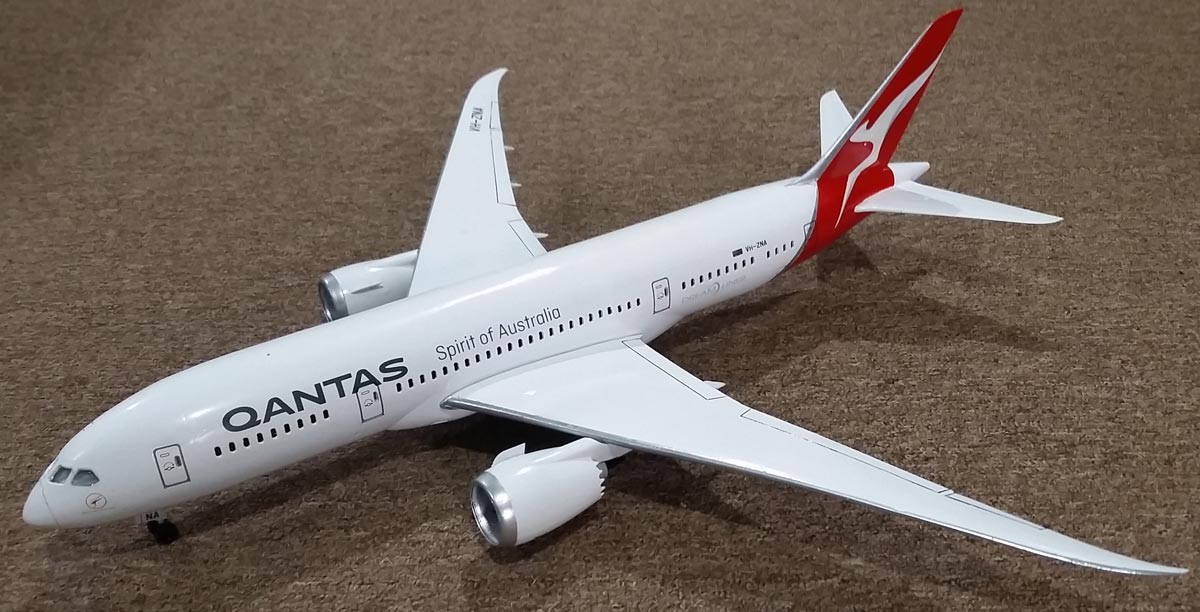
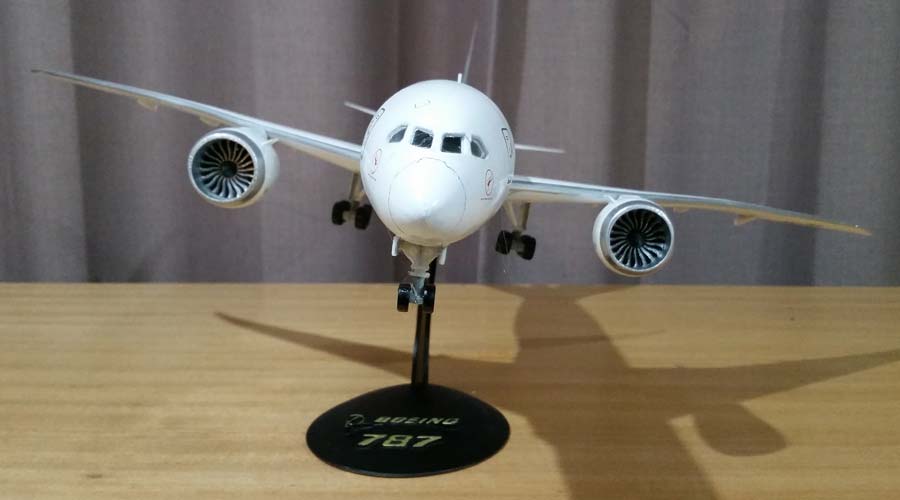
The model sits straight and level on the new stand.

